 Image 1 of 1
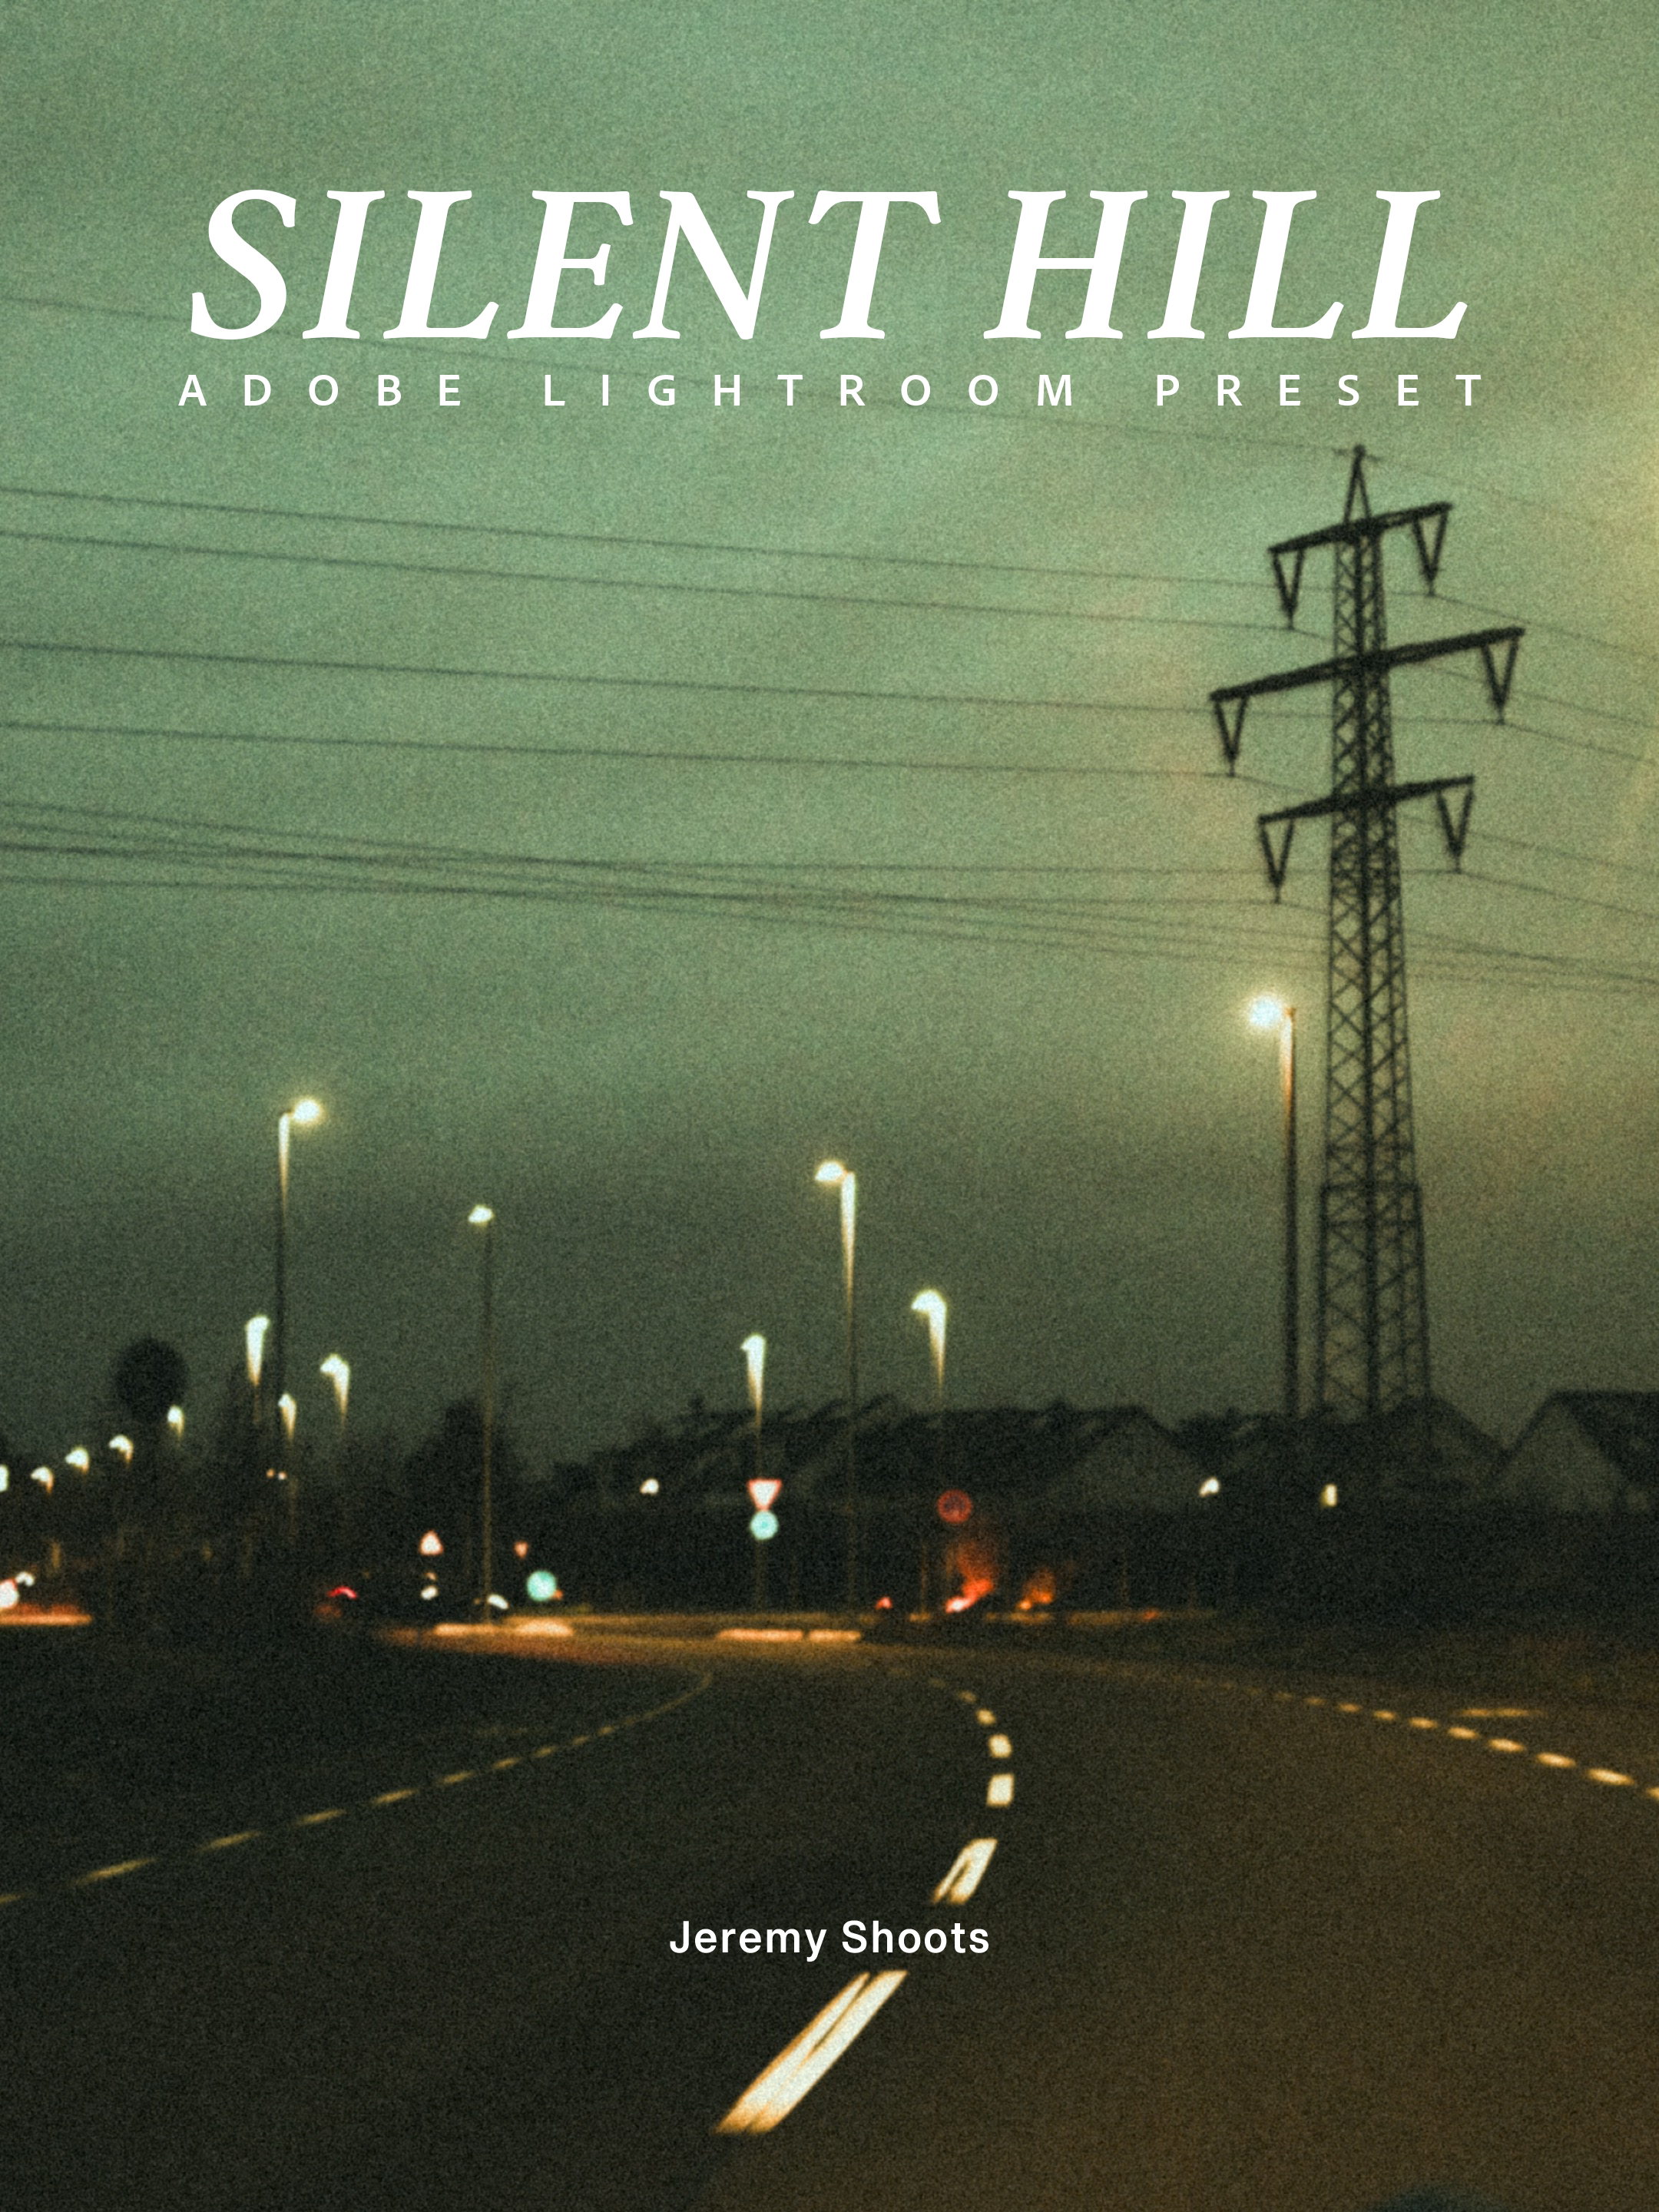
SILENT HILL
Cinematic presets to turns flat digital photos into atmospheric frames.


Featured Products
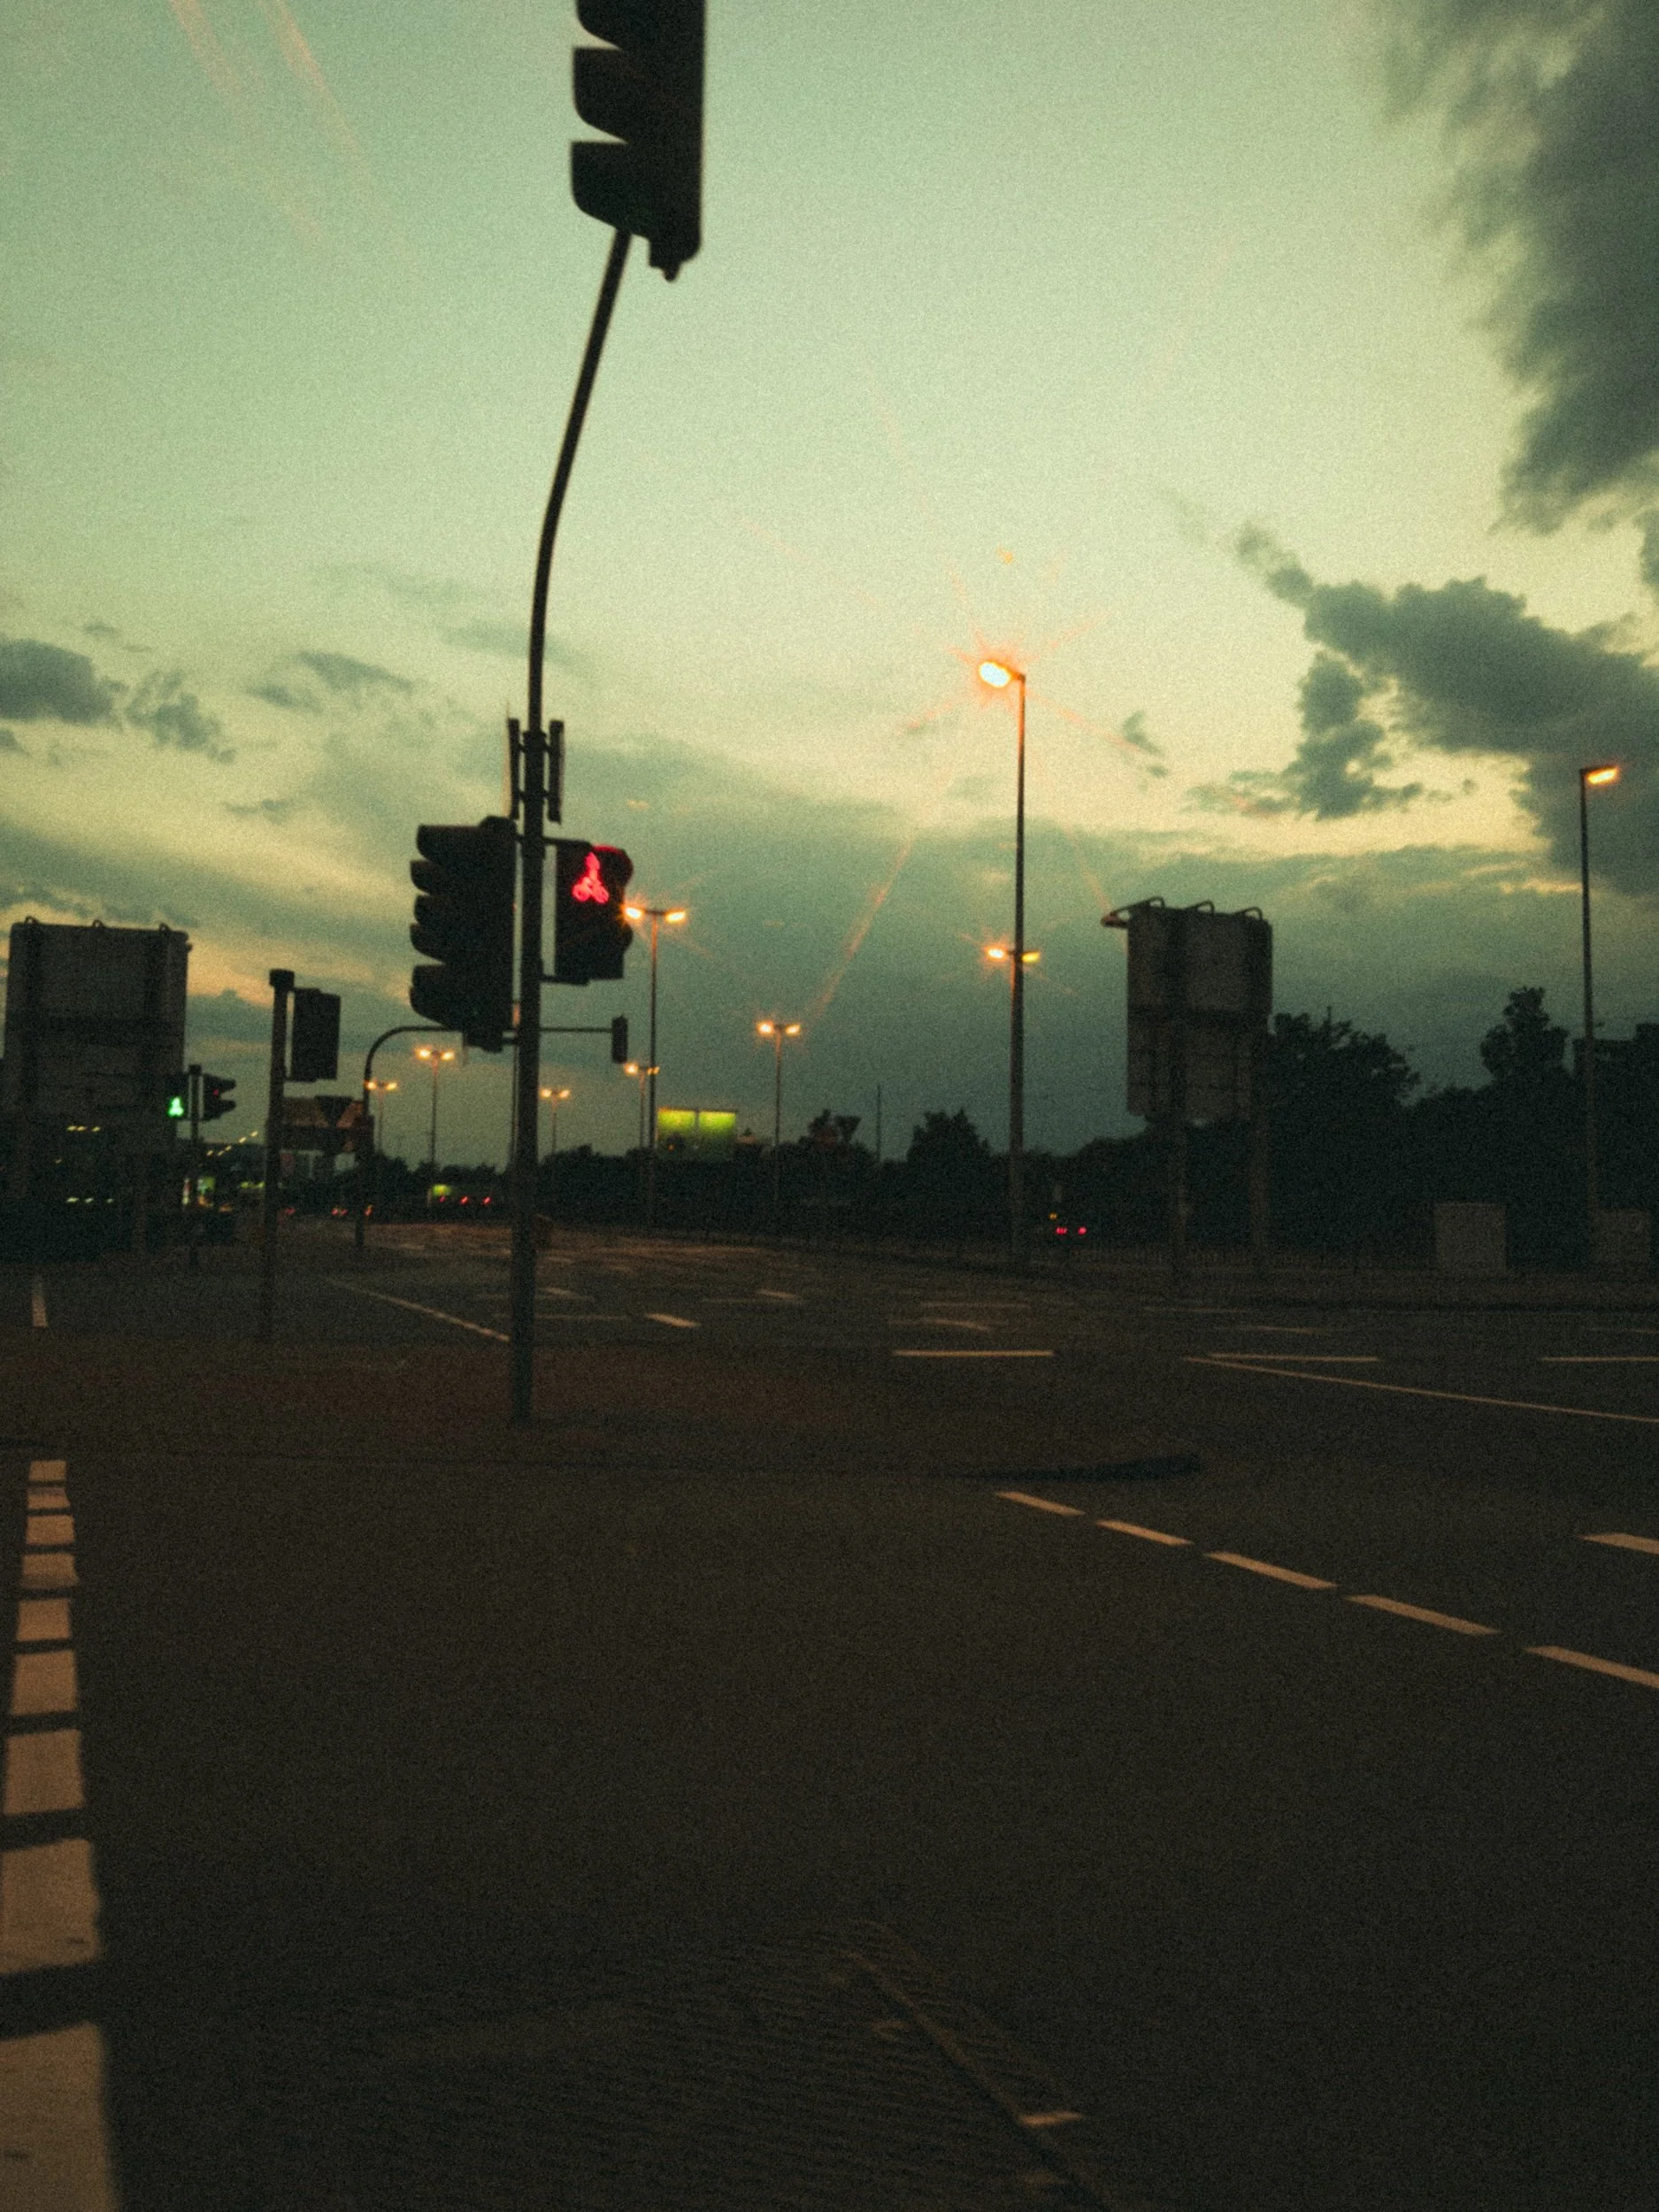
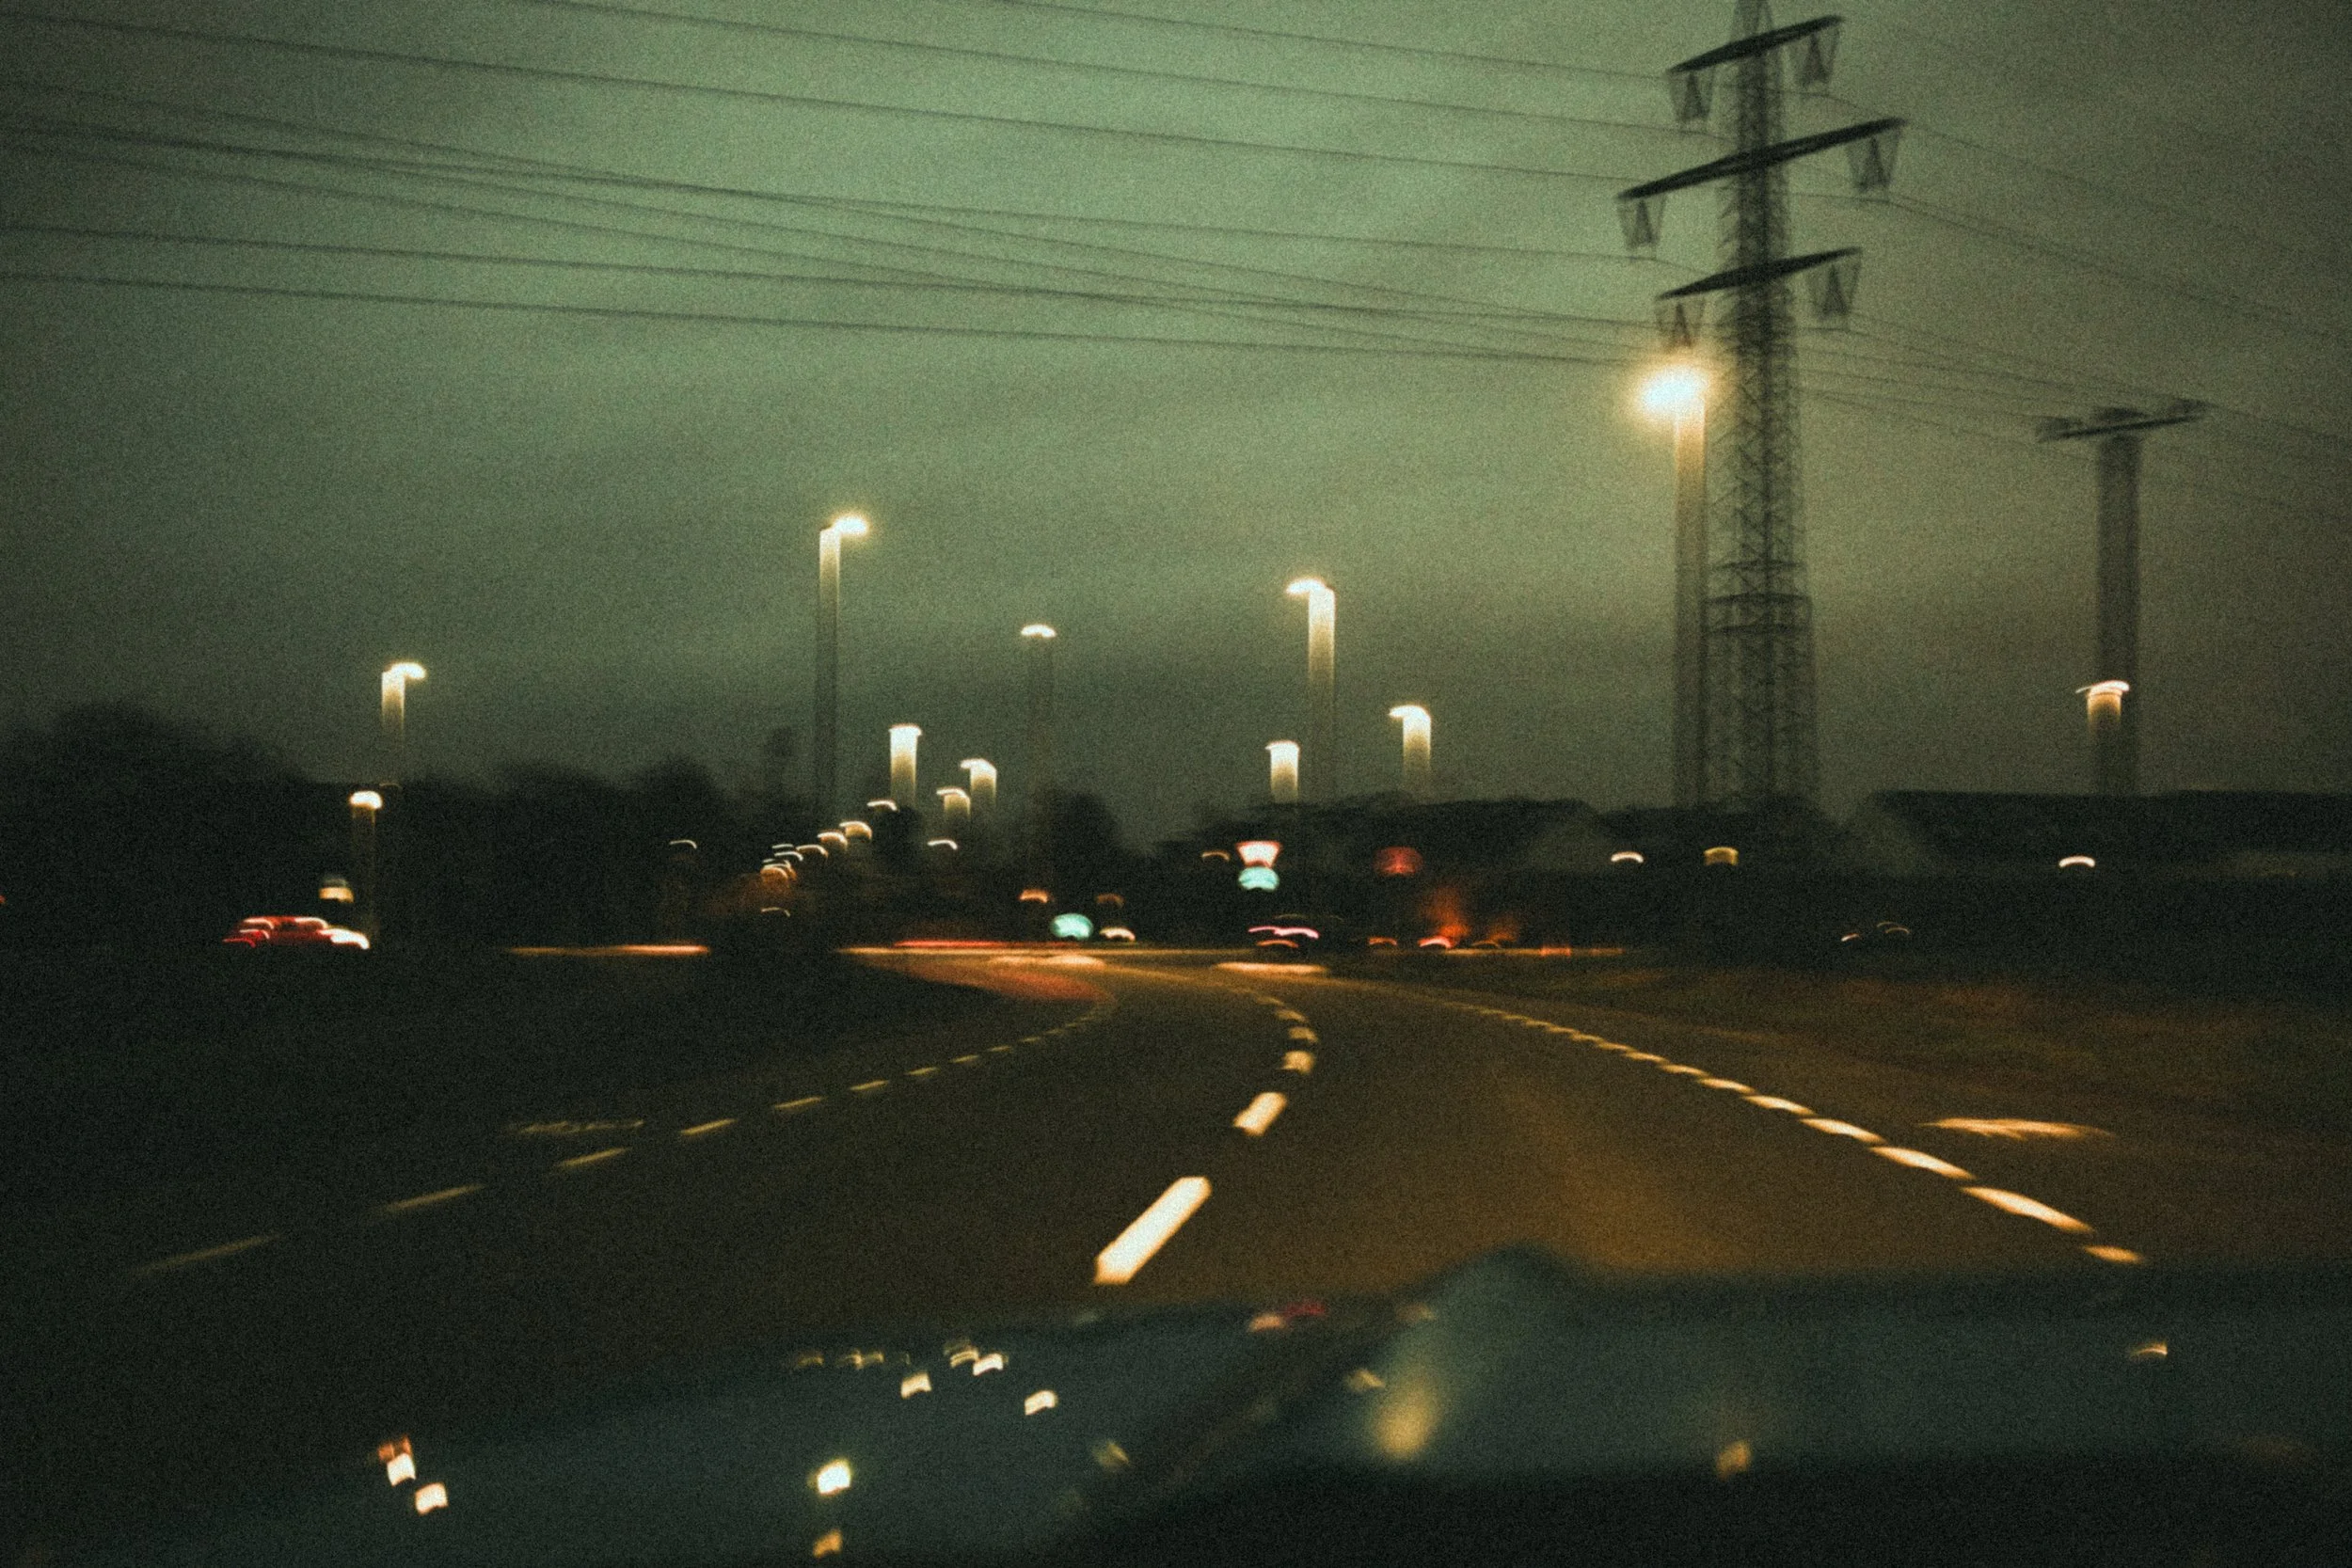
A cinematic low-light preset inspired by my film pictures.
Perfect for night street photography, neon, tungsten scenes, urban portraits, and moody travel shots.
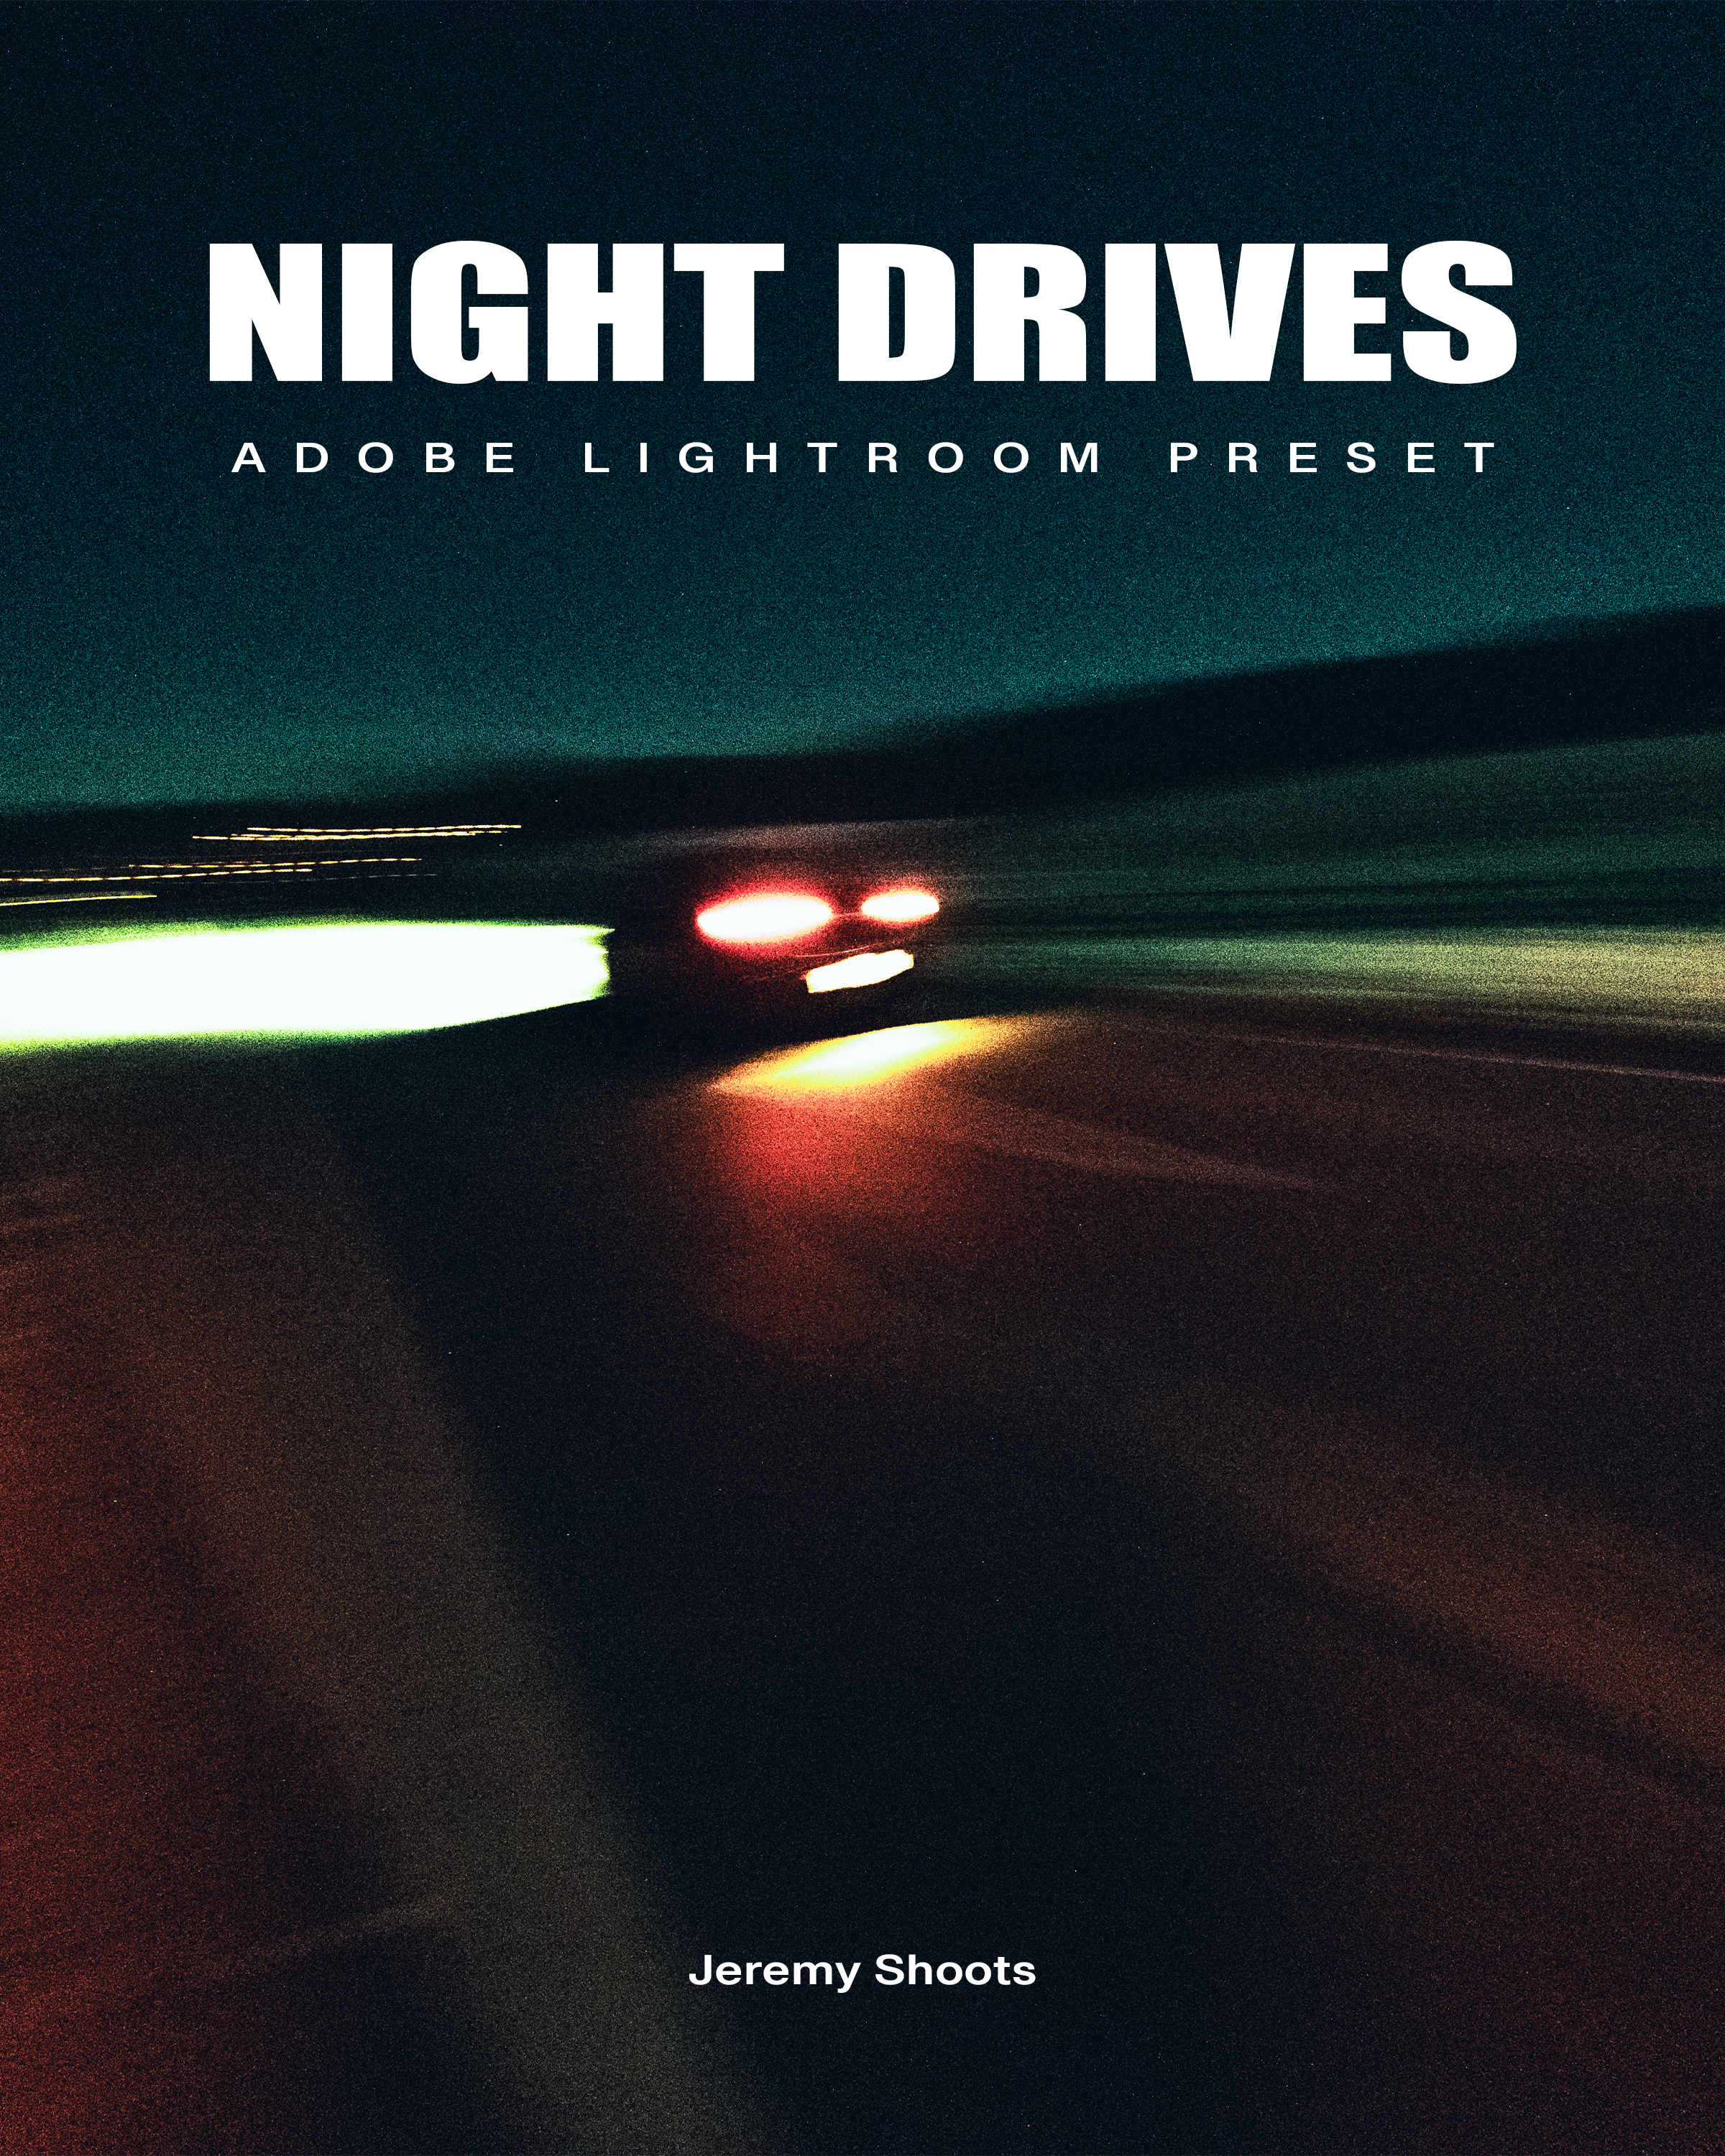
Transform your night photos instantly with the NIGHT DRIVES preset.
Designed to give digital files a rich cinematic look — warm halation tones, deep green shadows, soft grain, and subtle color shifts that mimic tungsten-balanced film.
Includes:
6 Desktop Lightroom Presets (.xmp)
6 Mobile Lightroom Presets (.dng)
Installation Guide
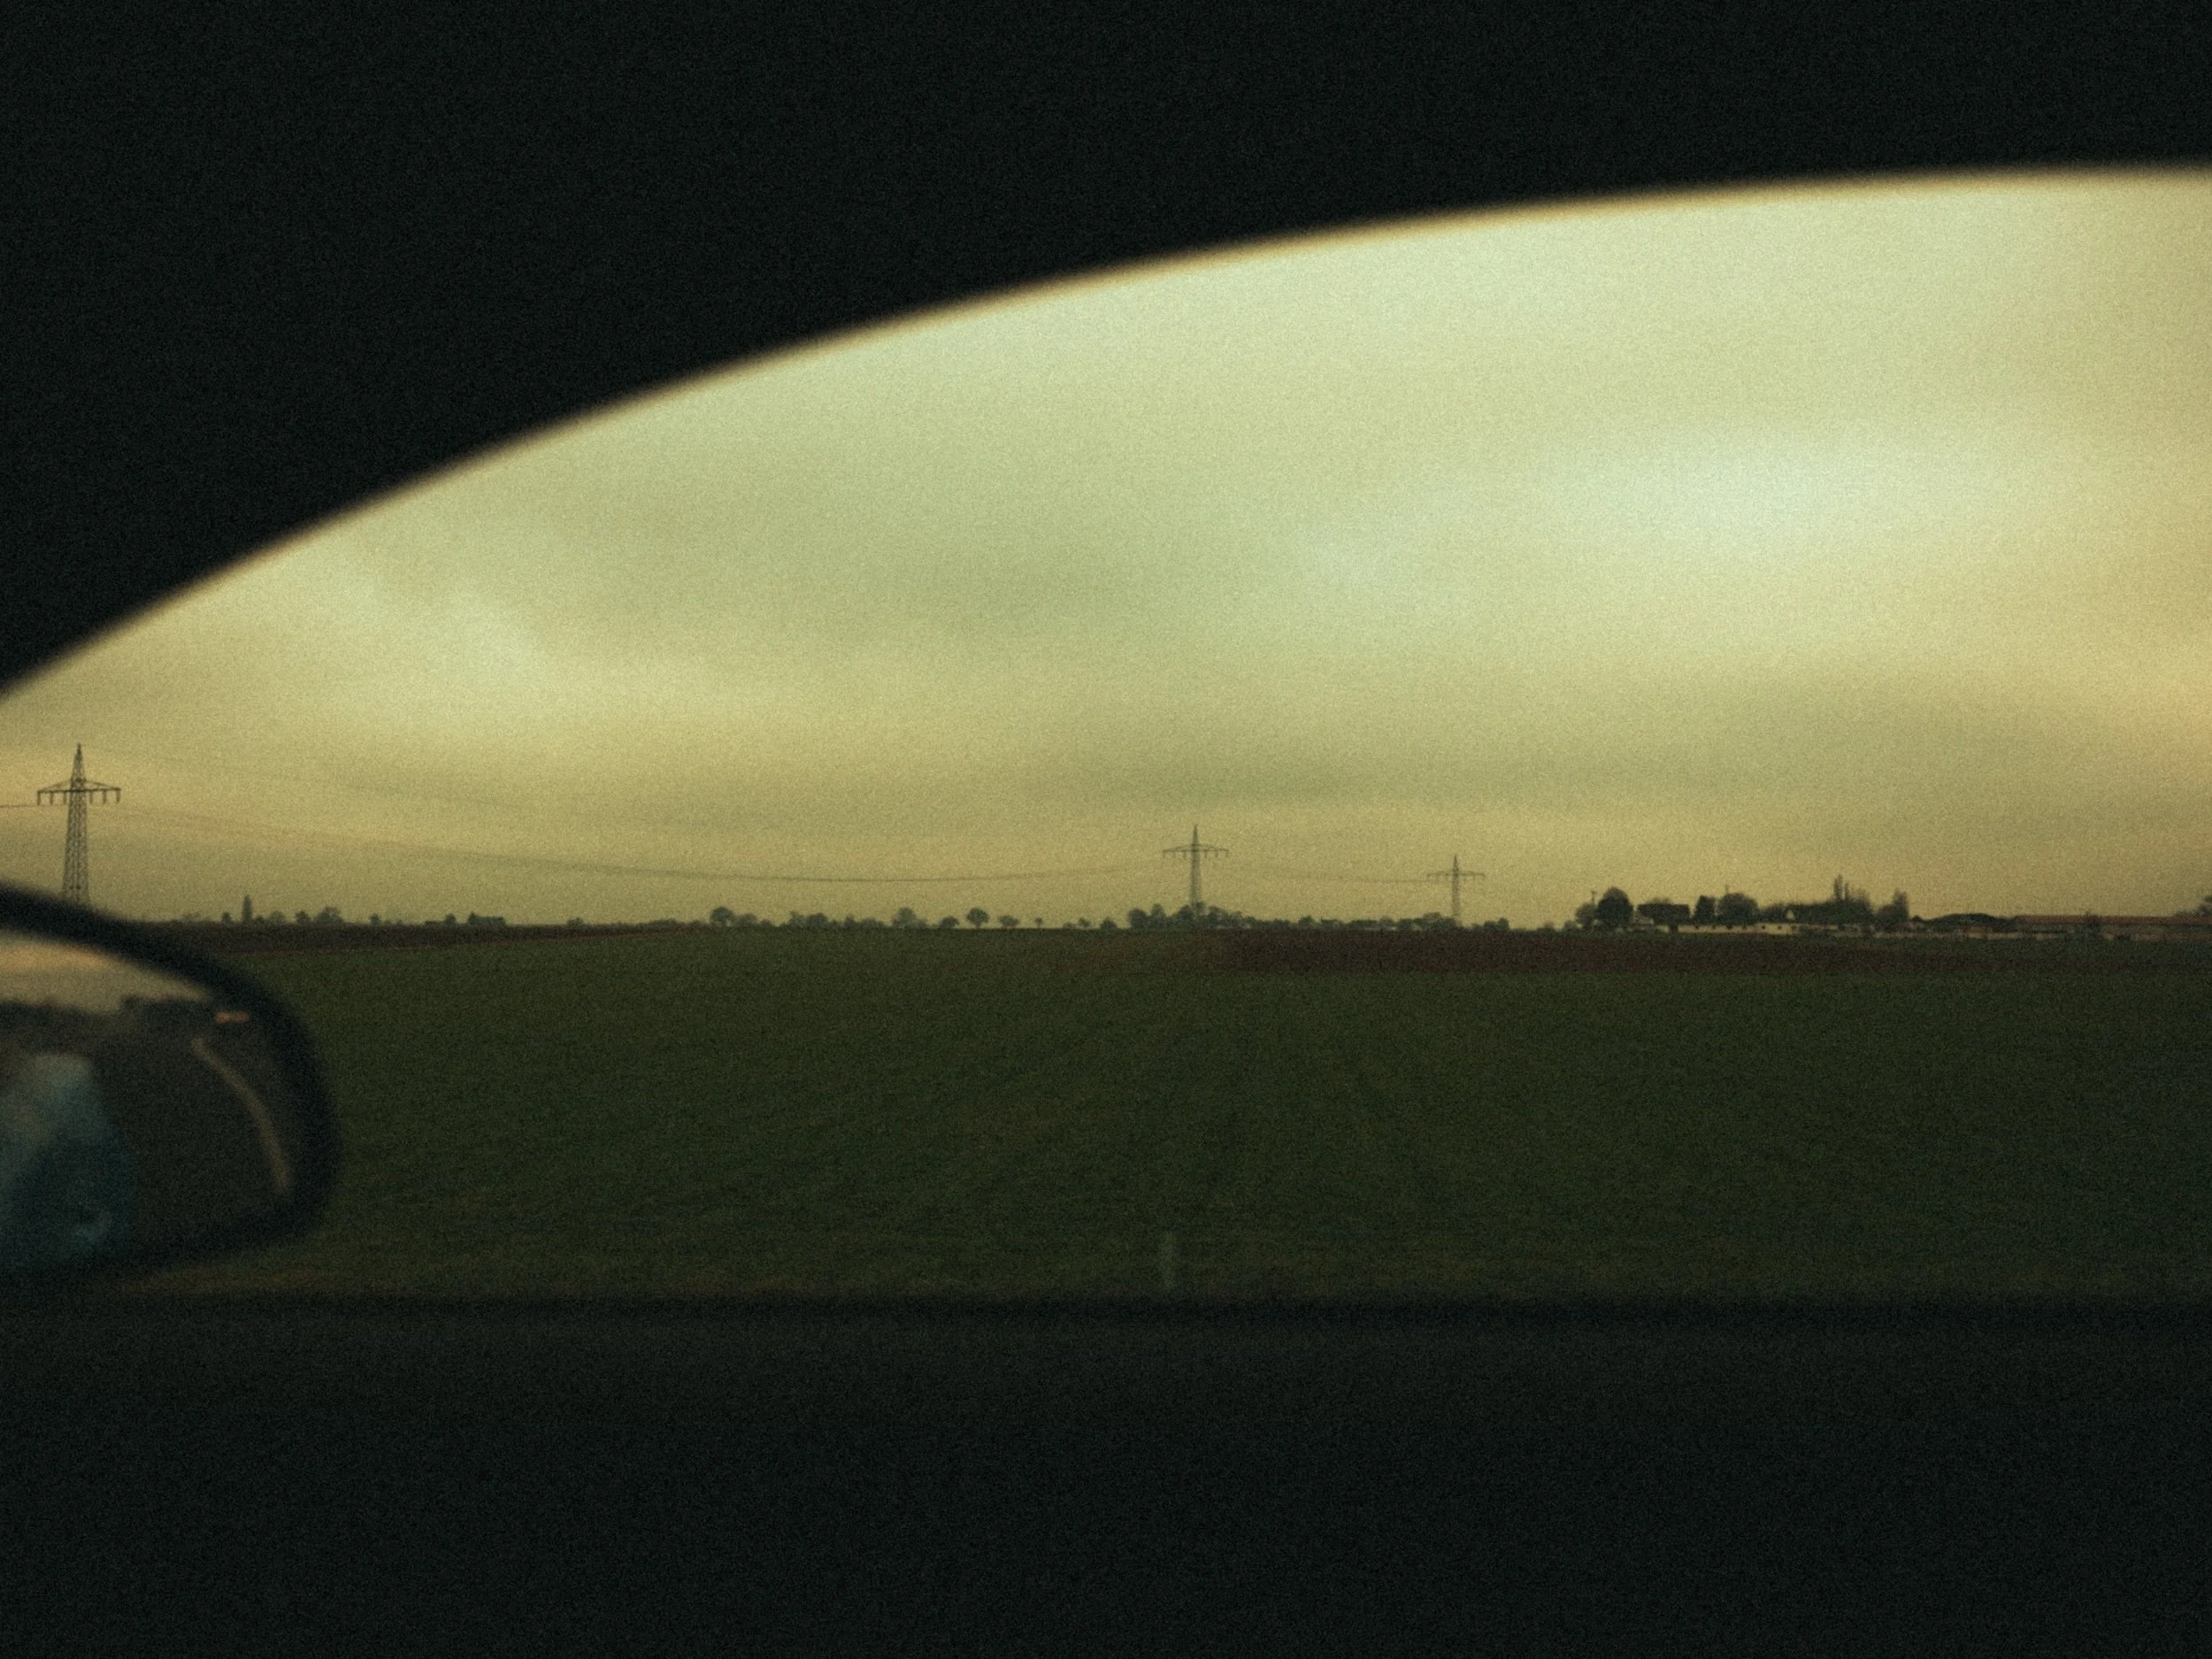
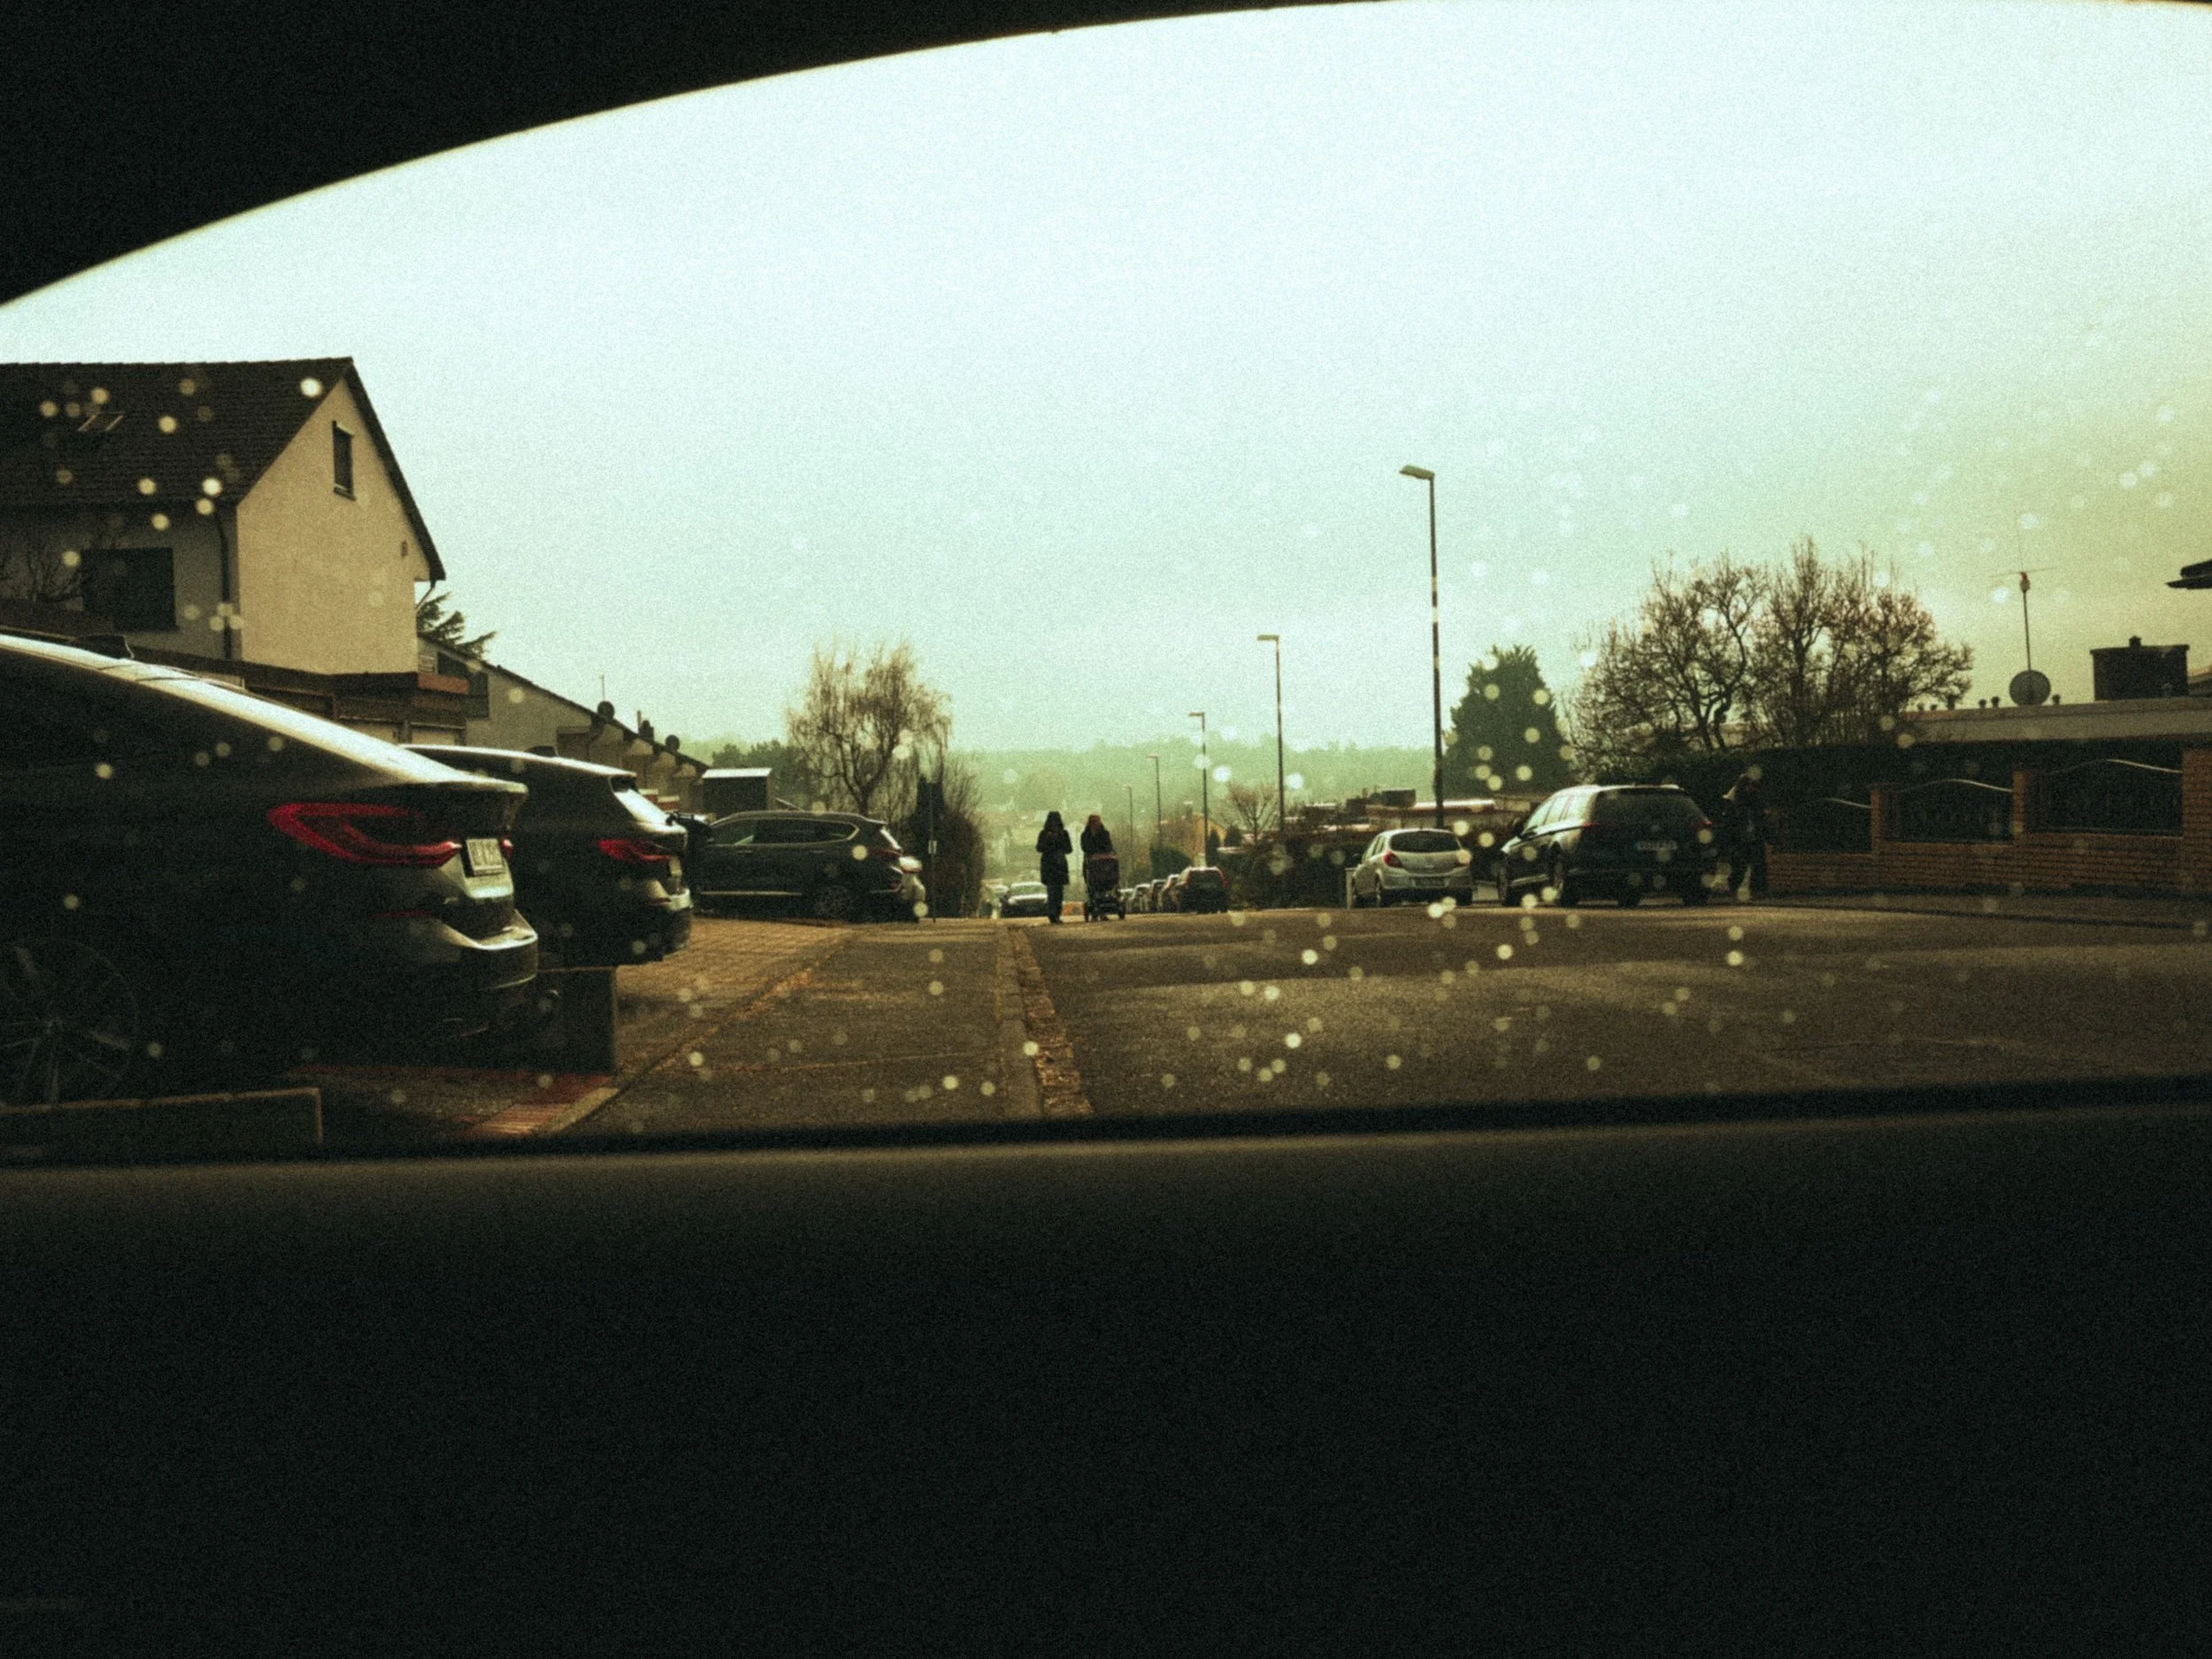
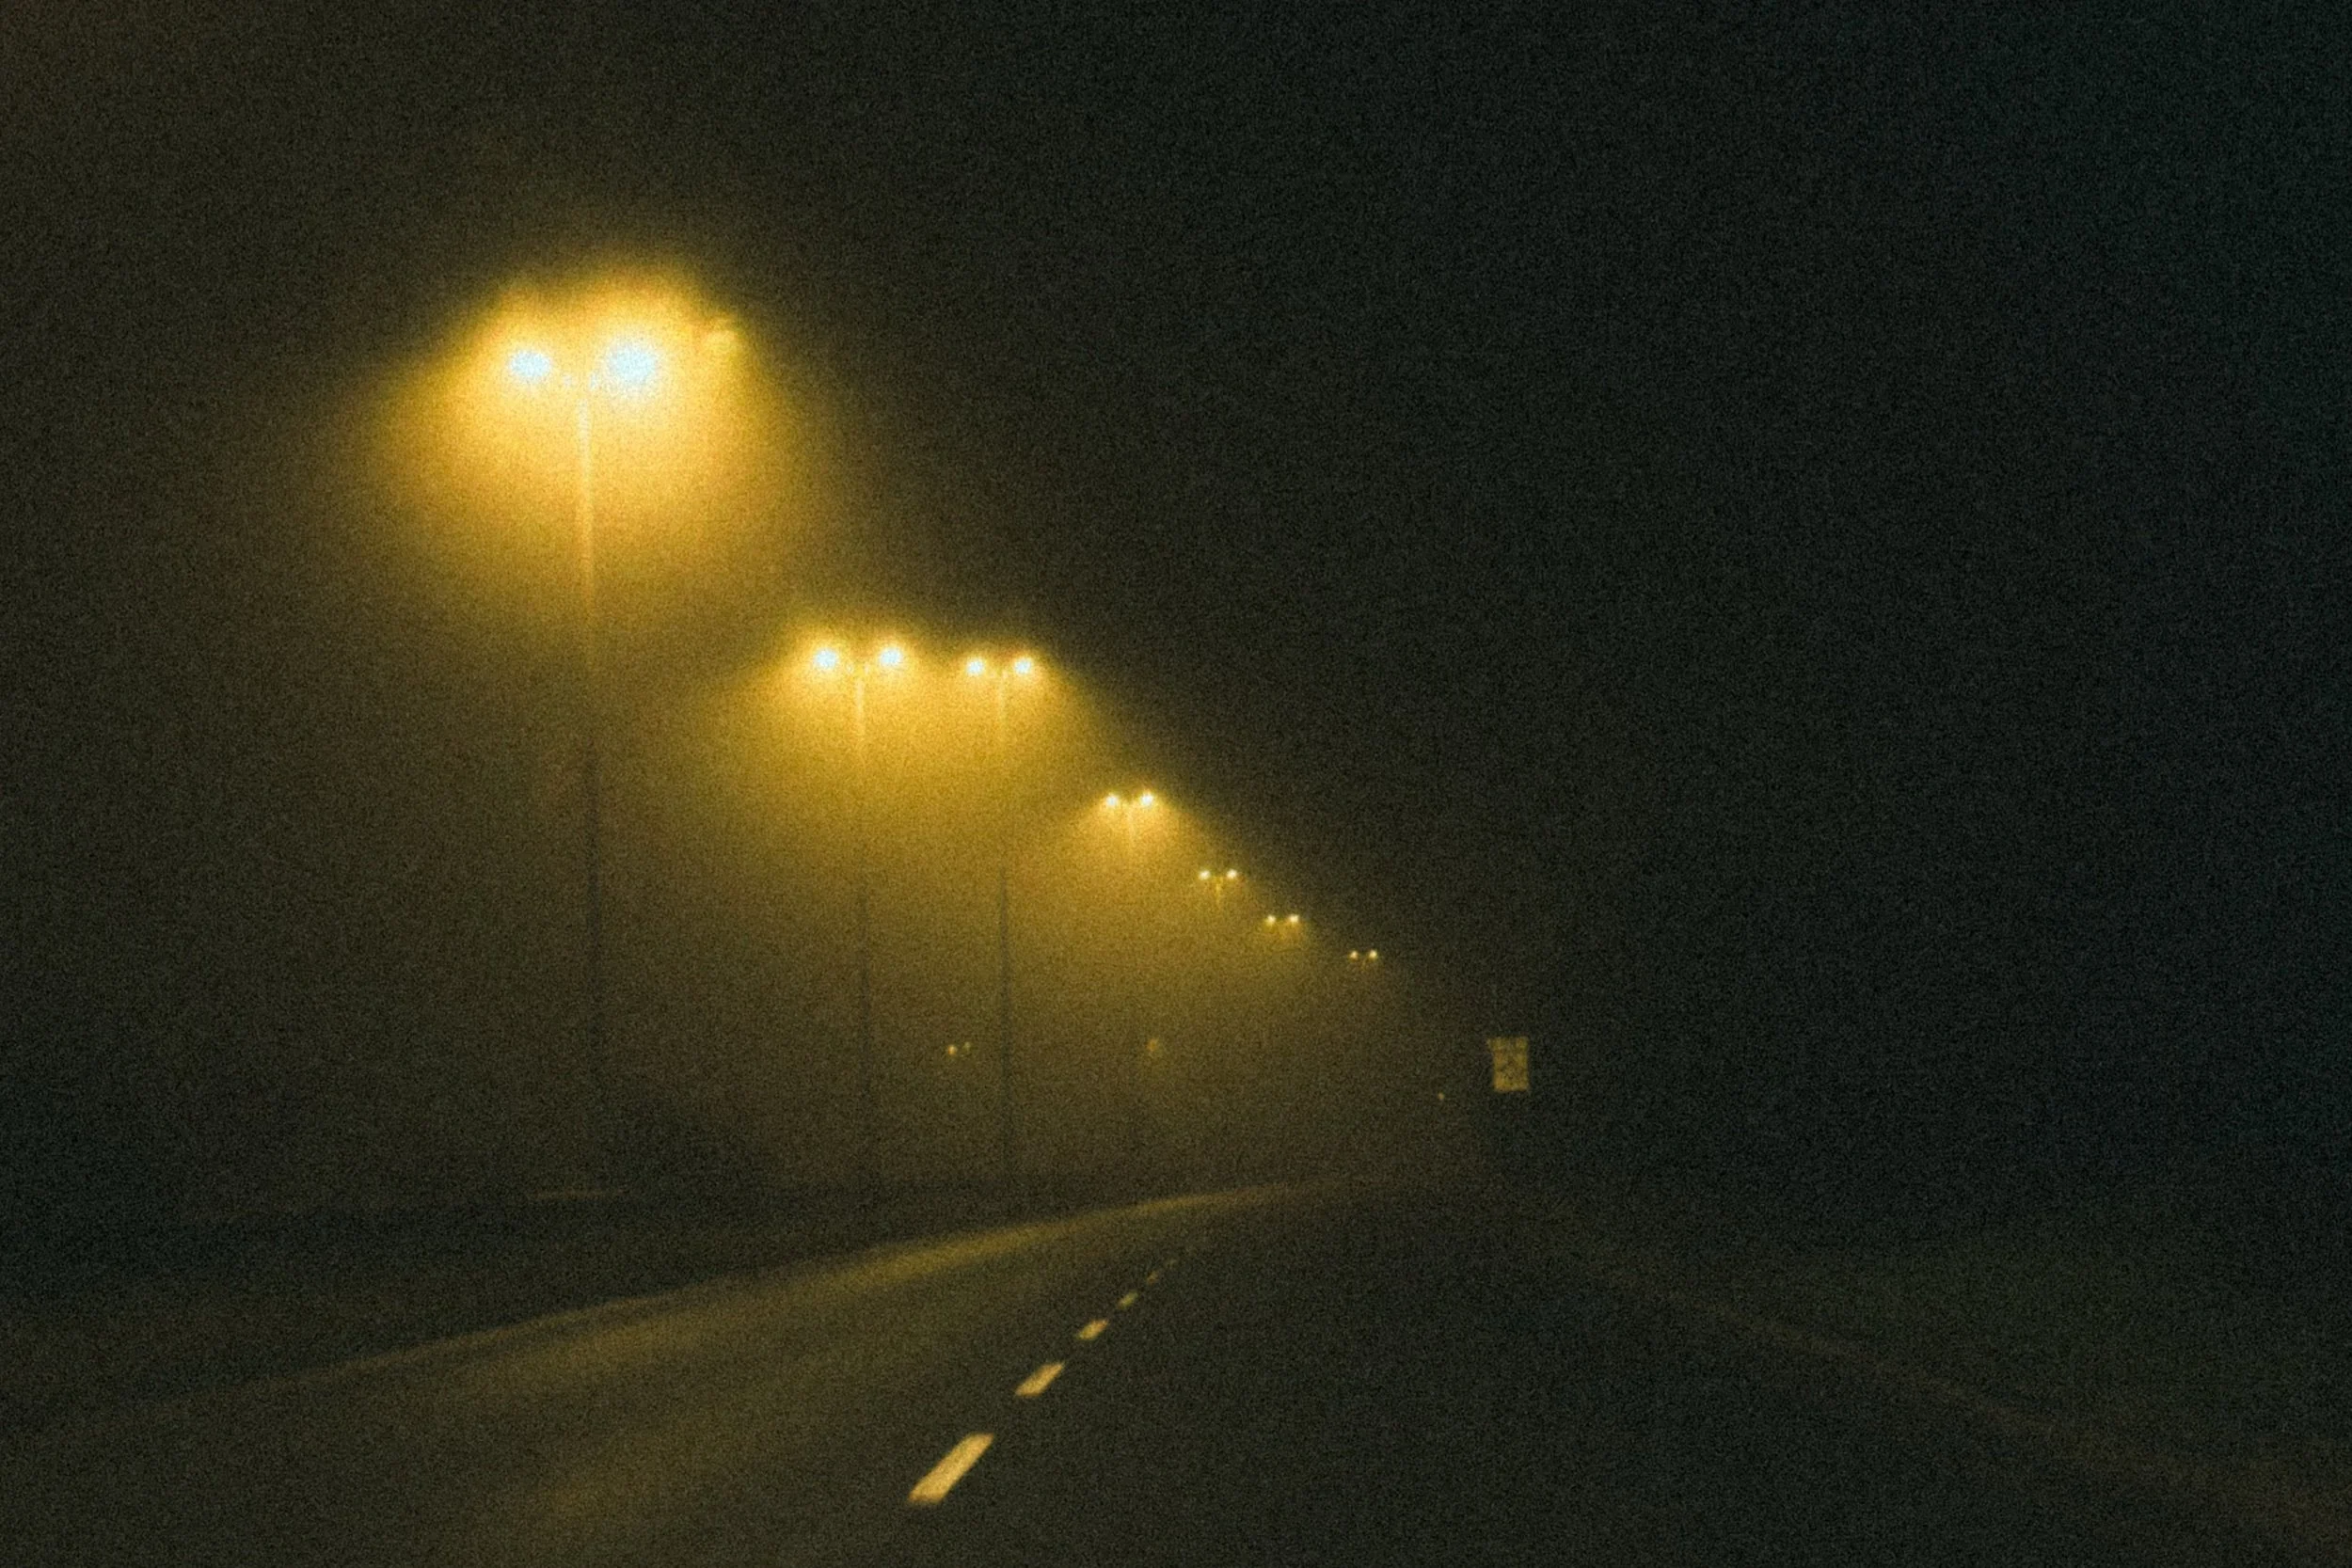
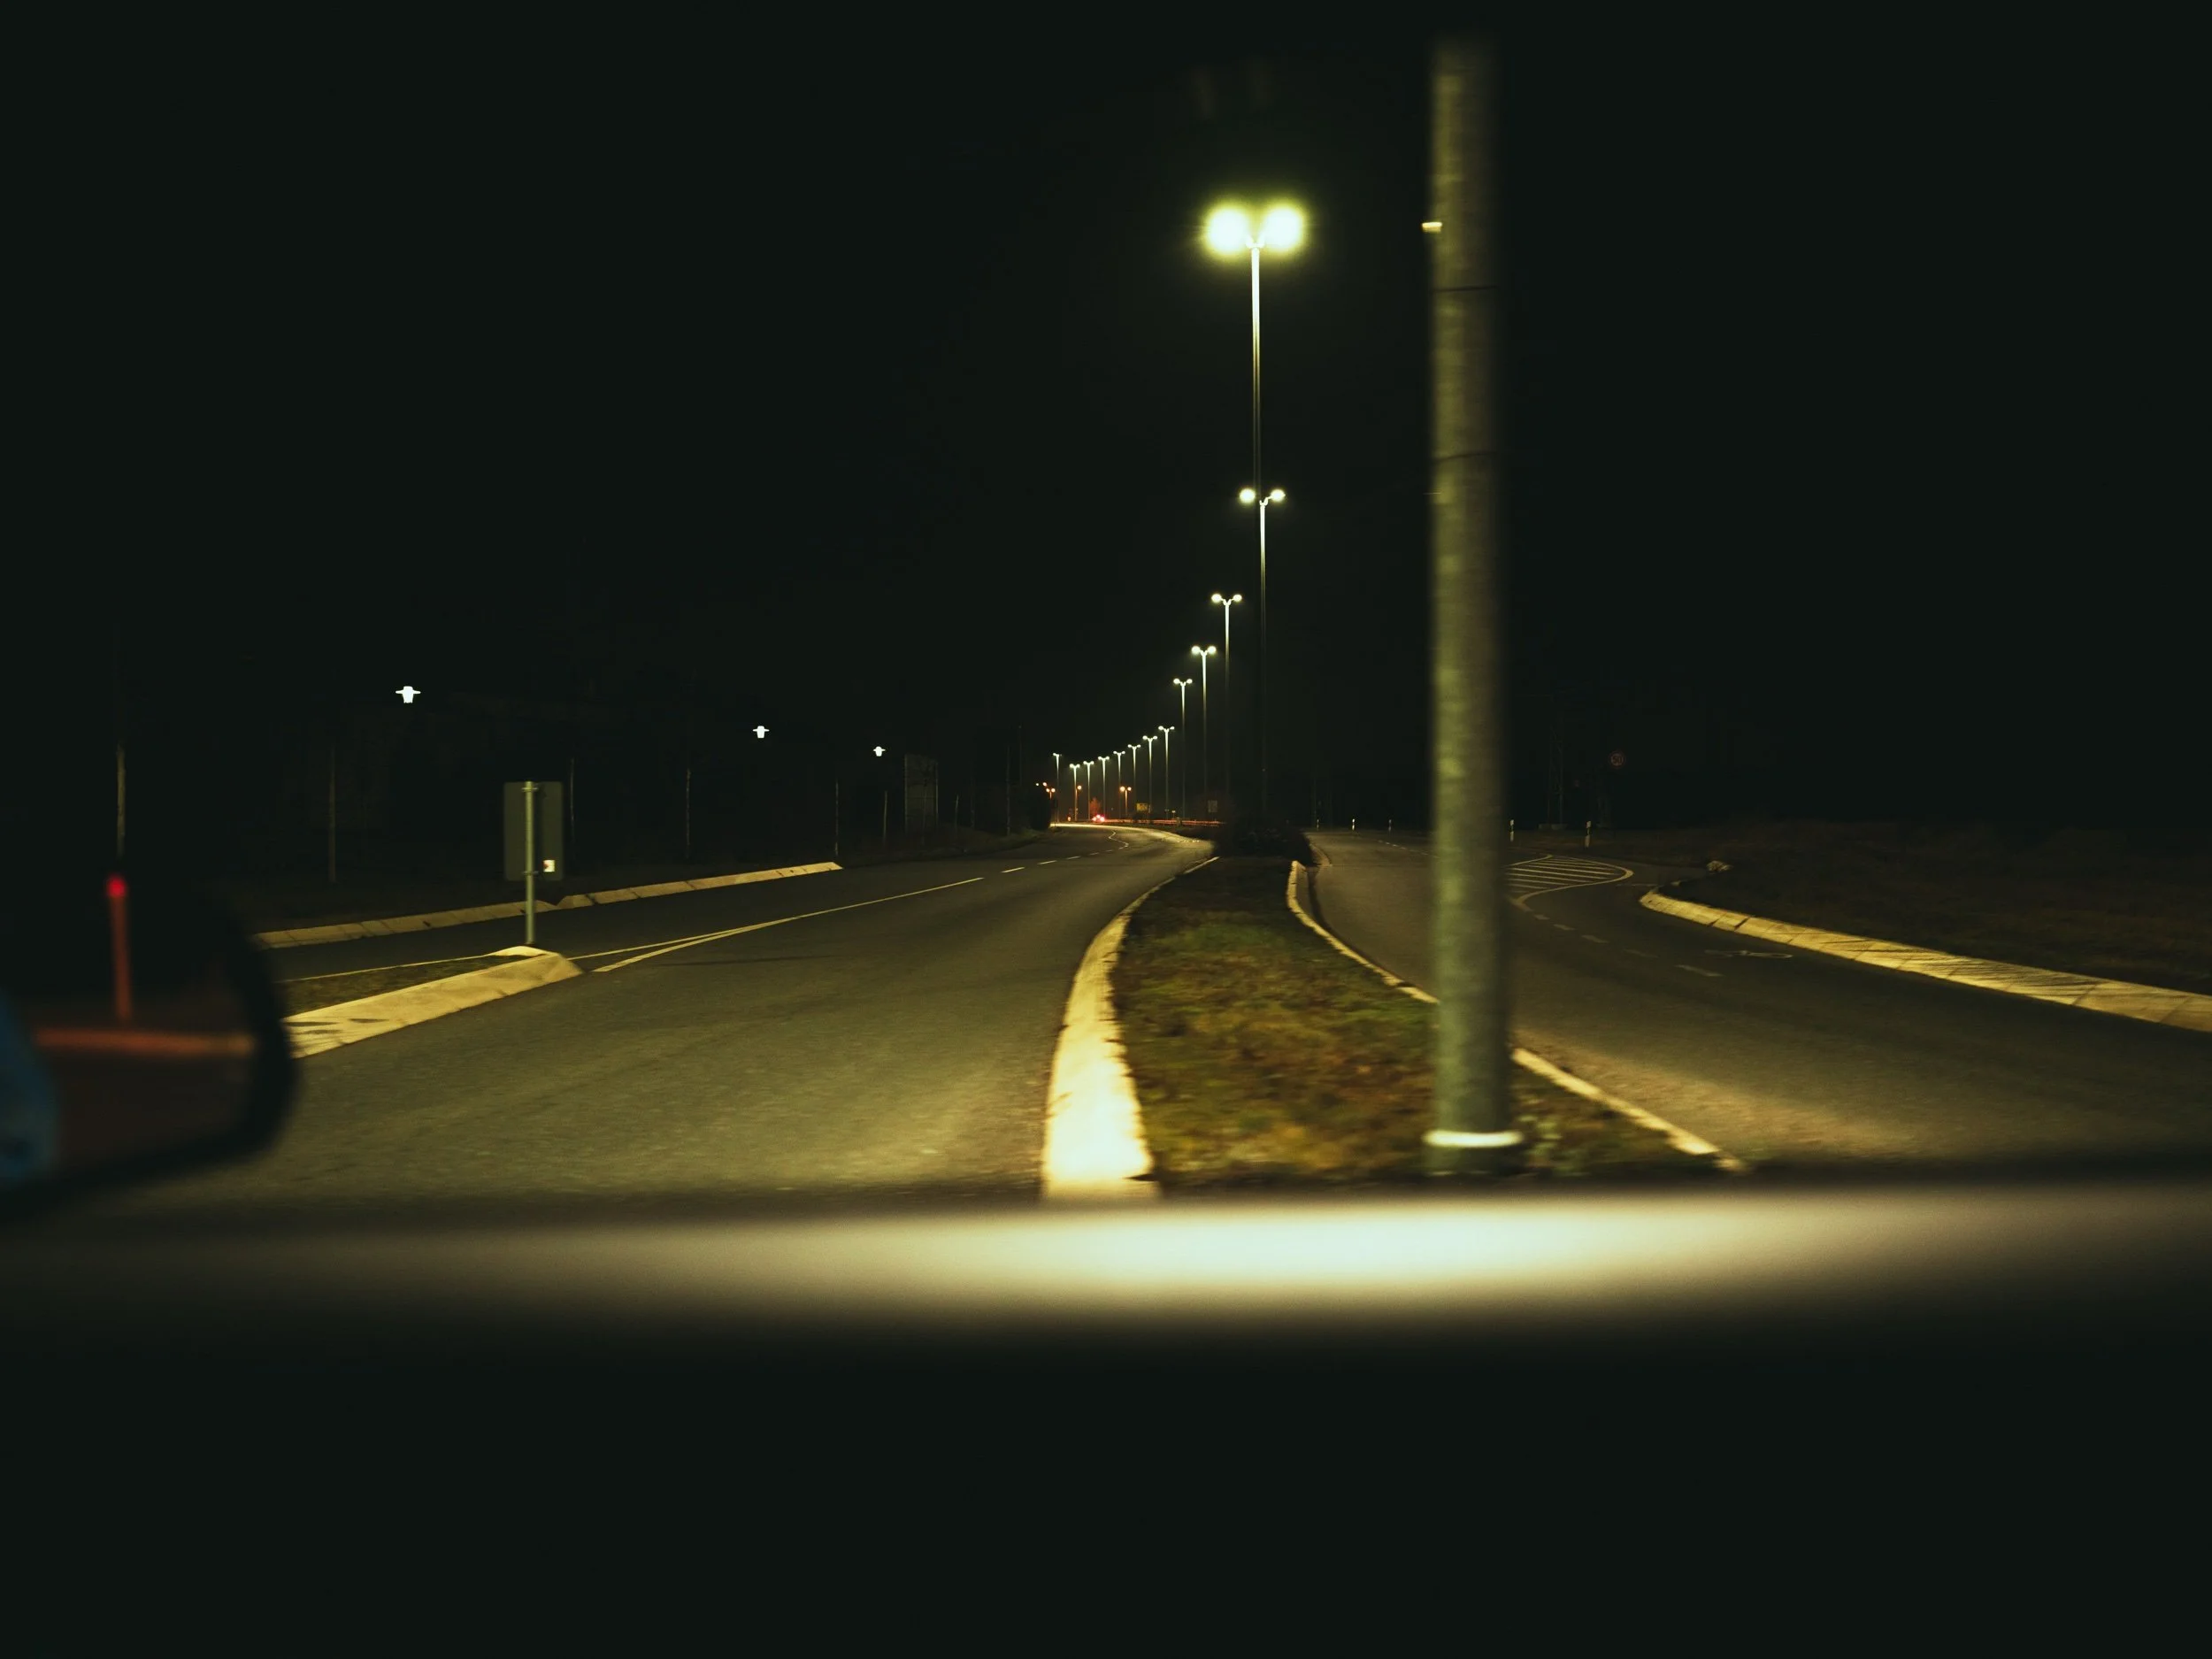
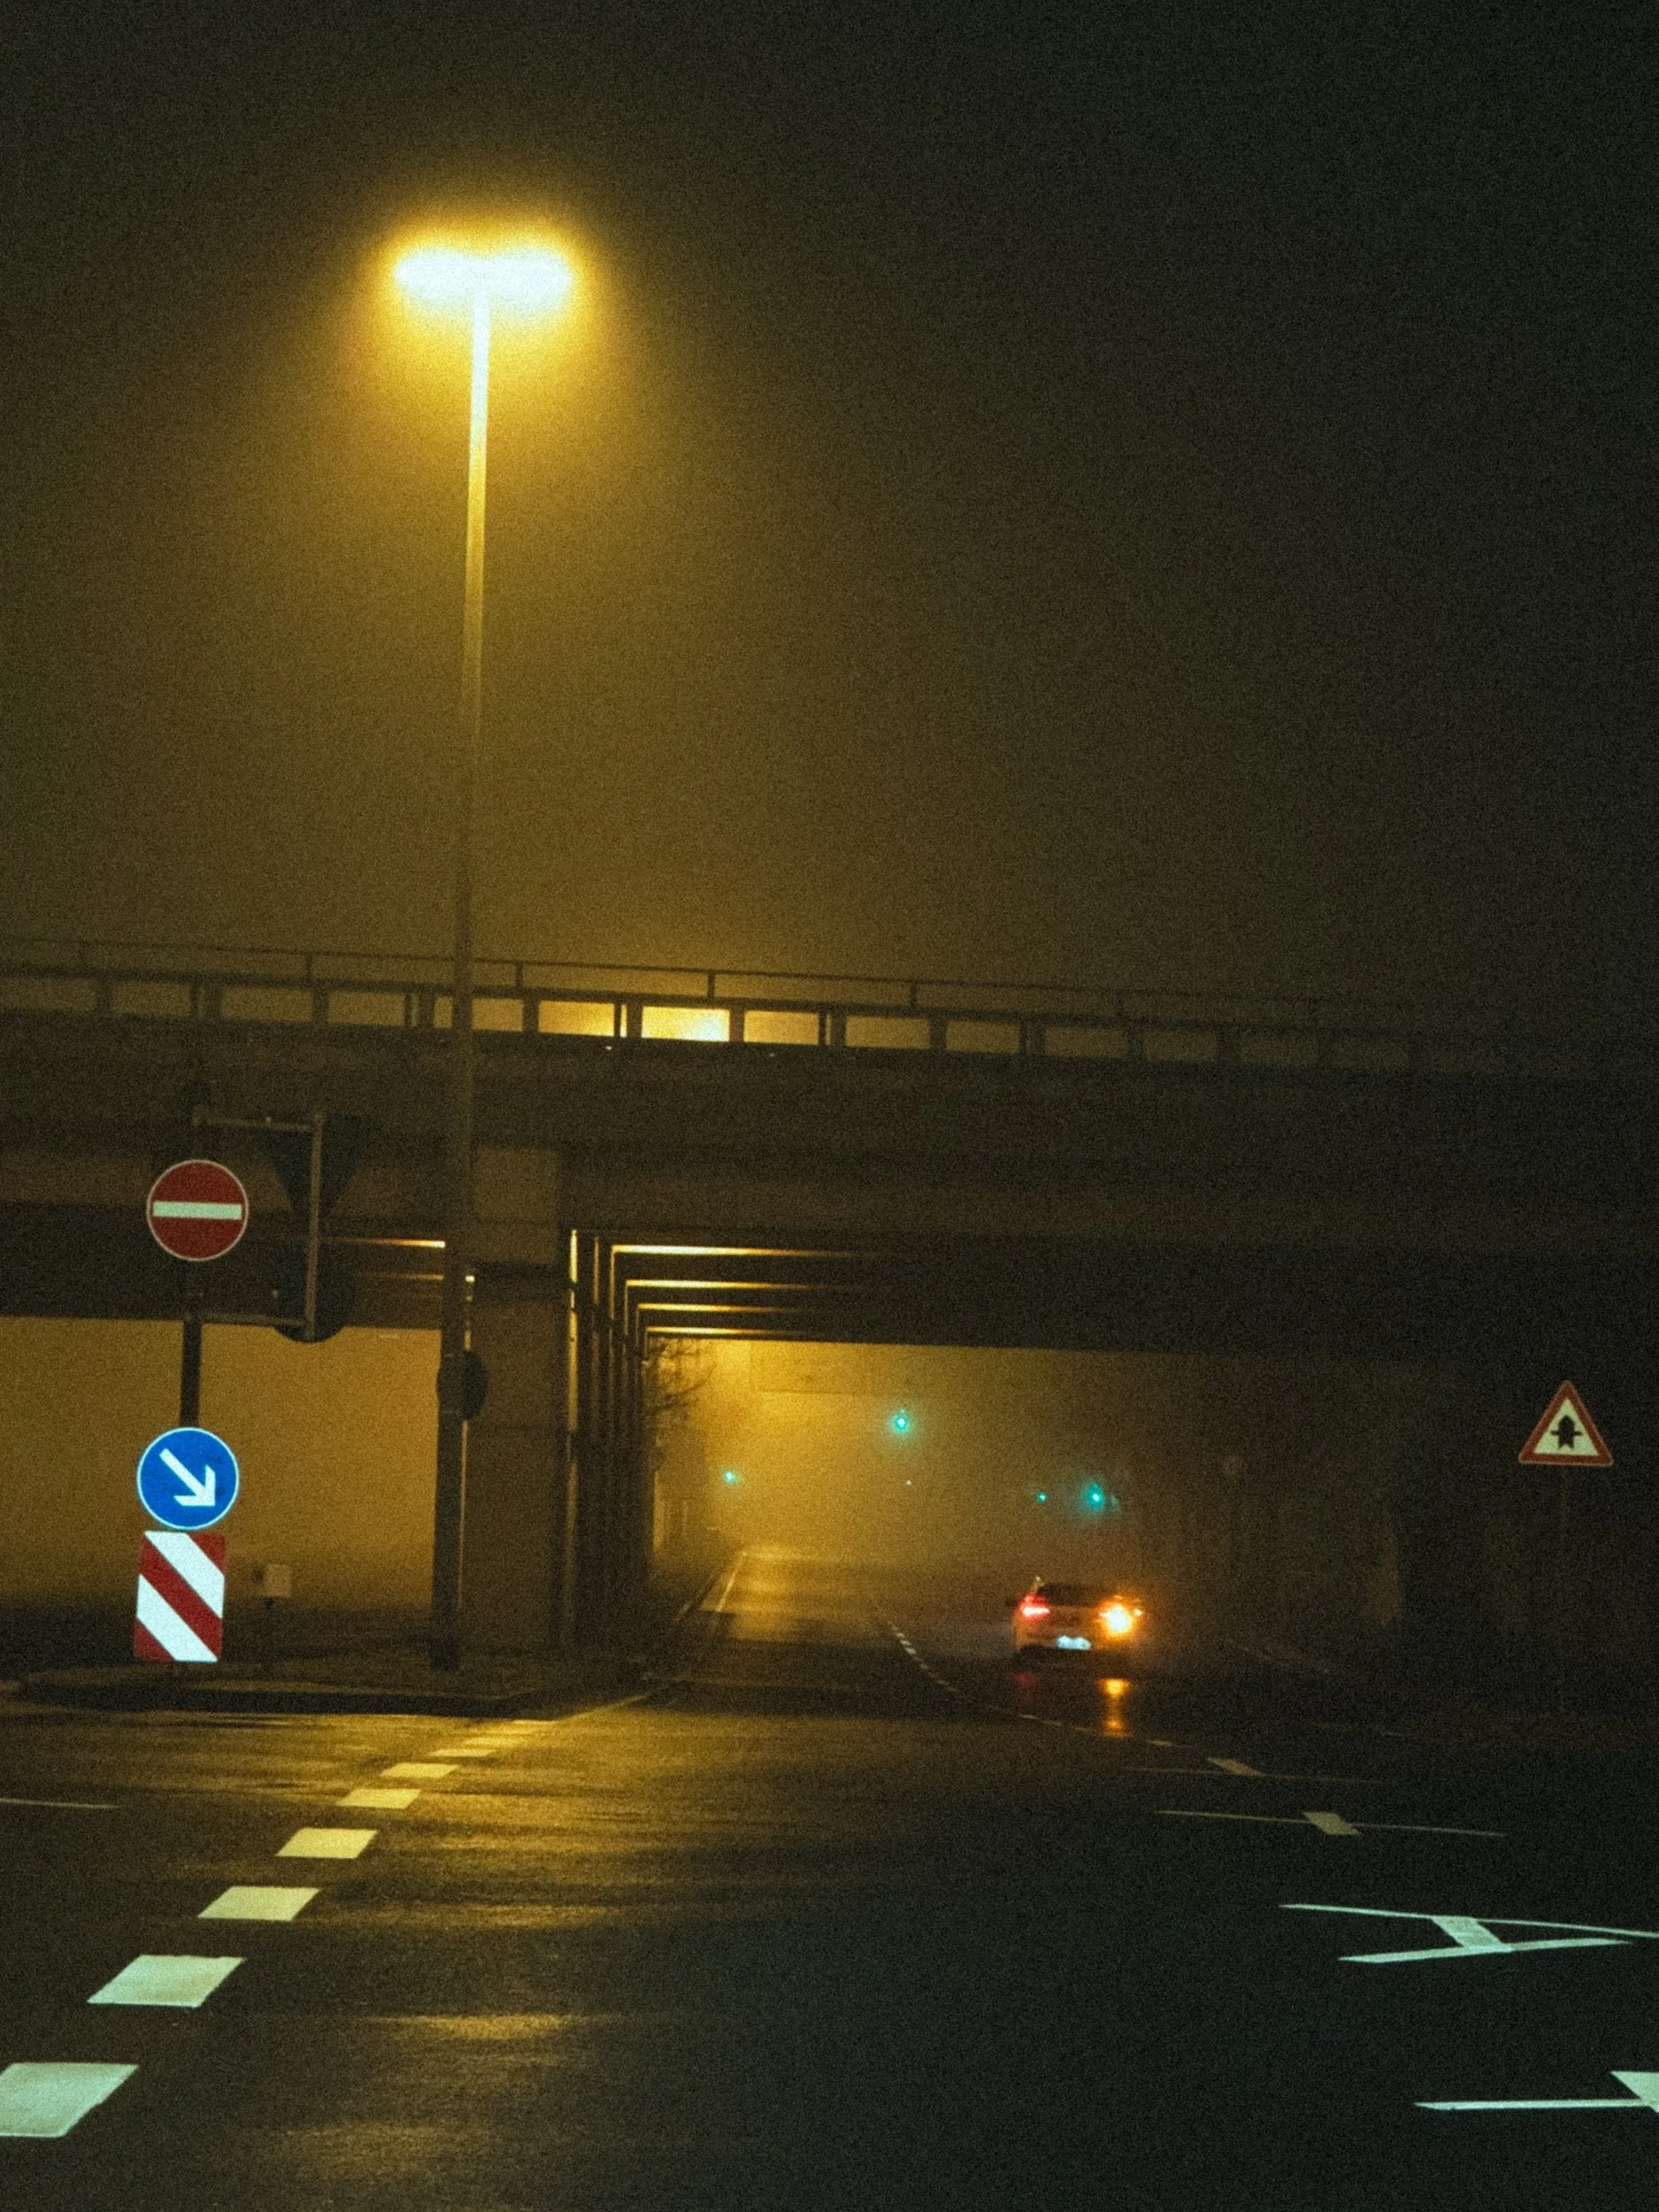
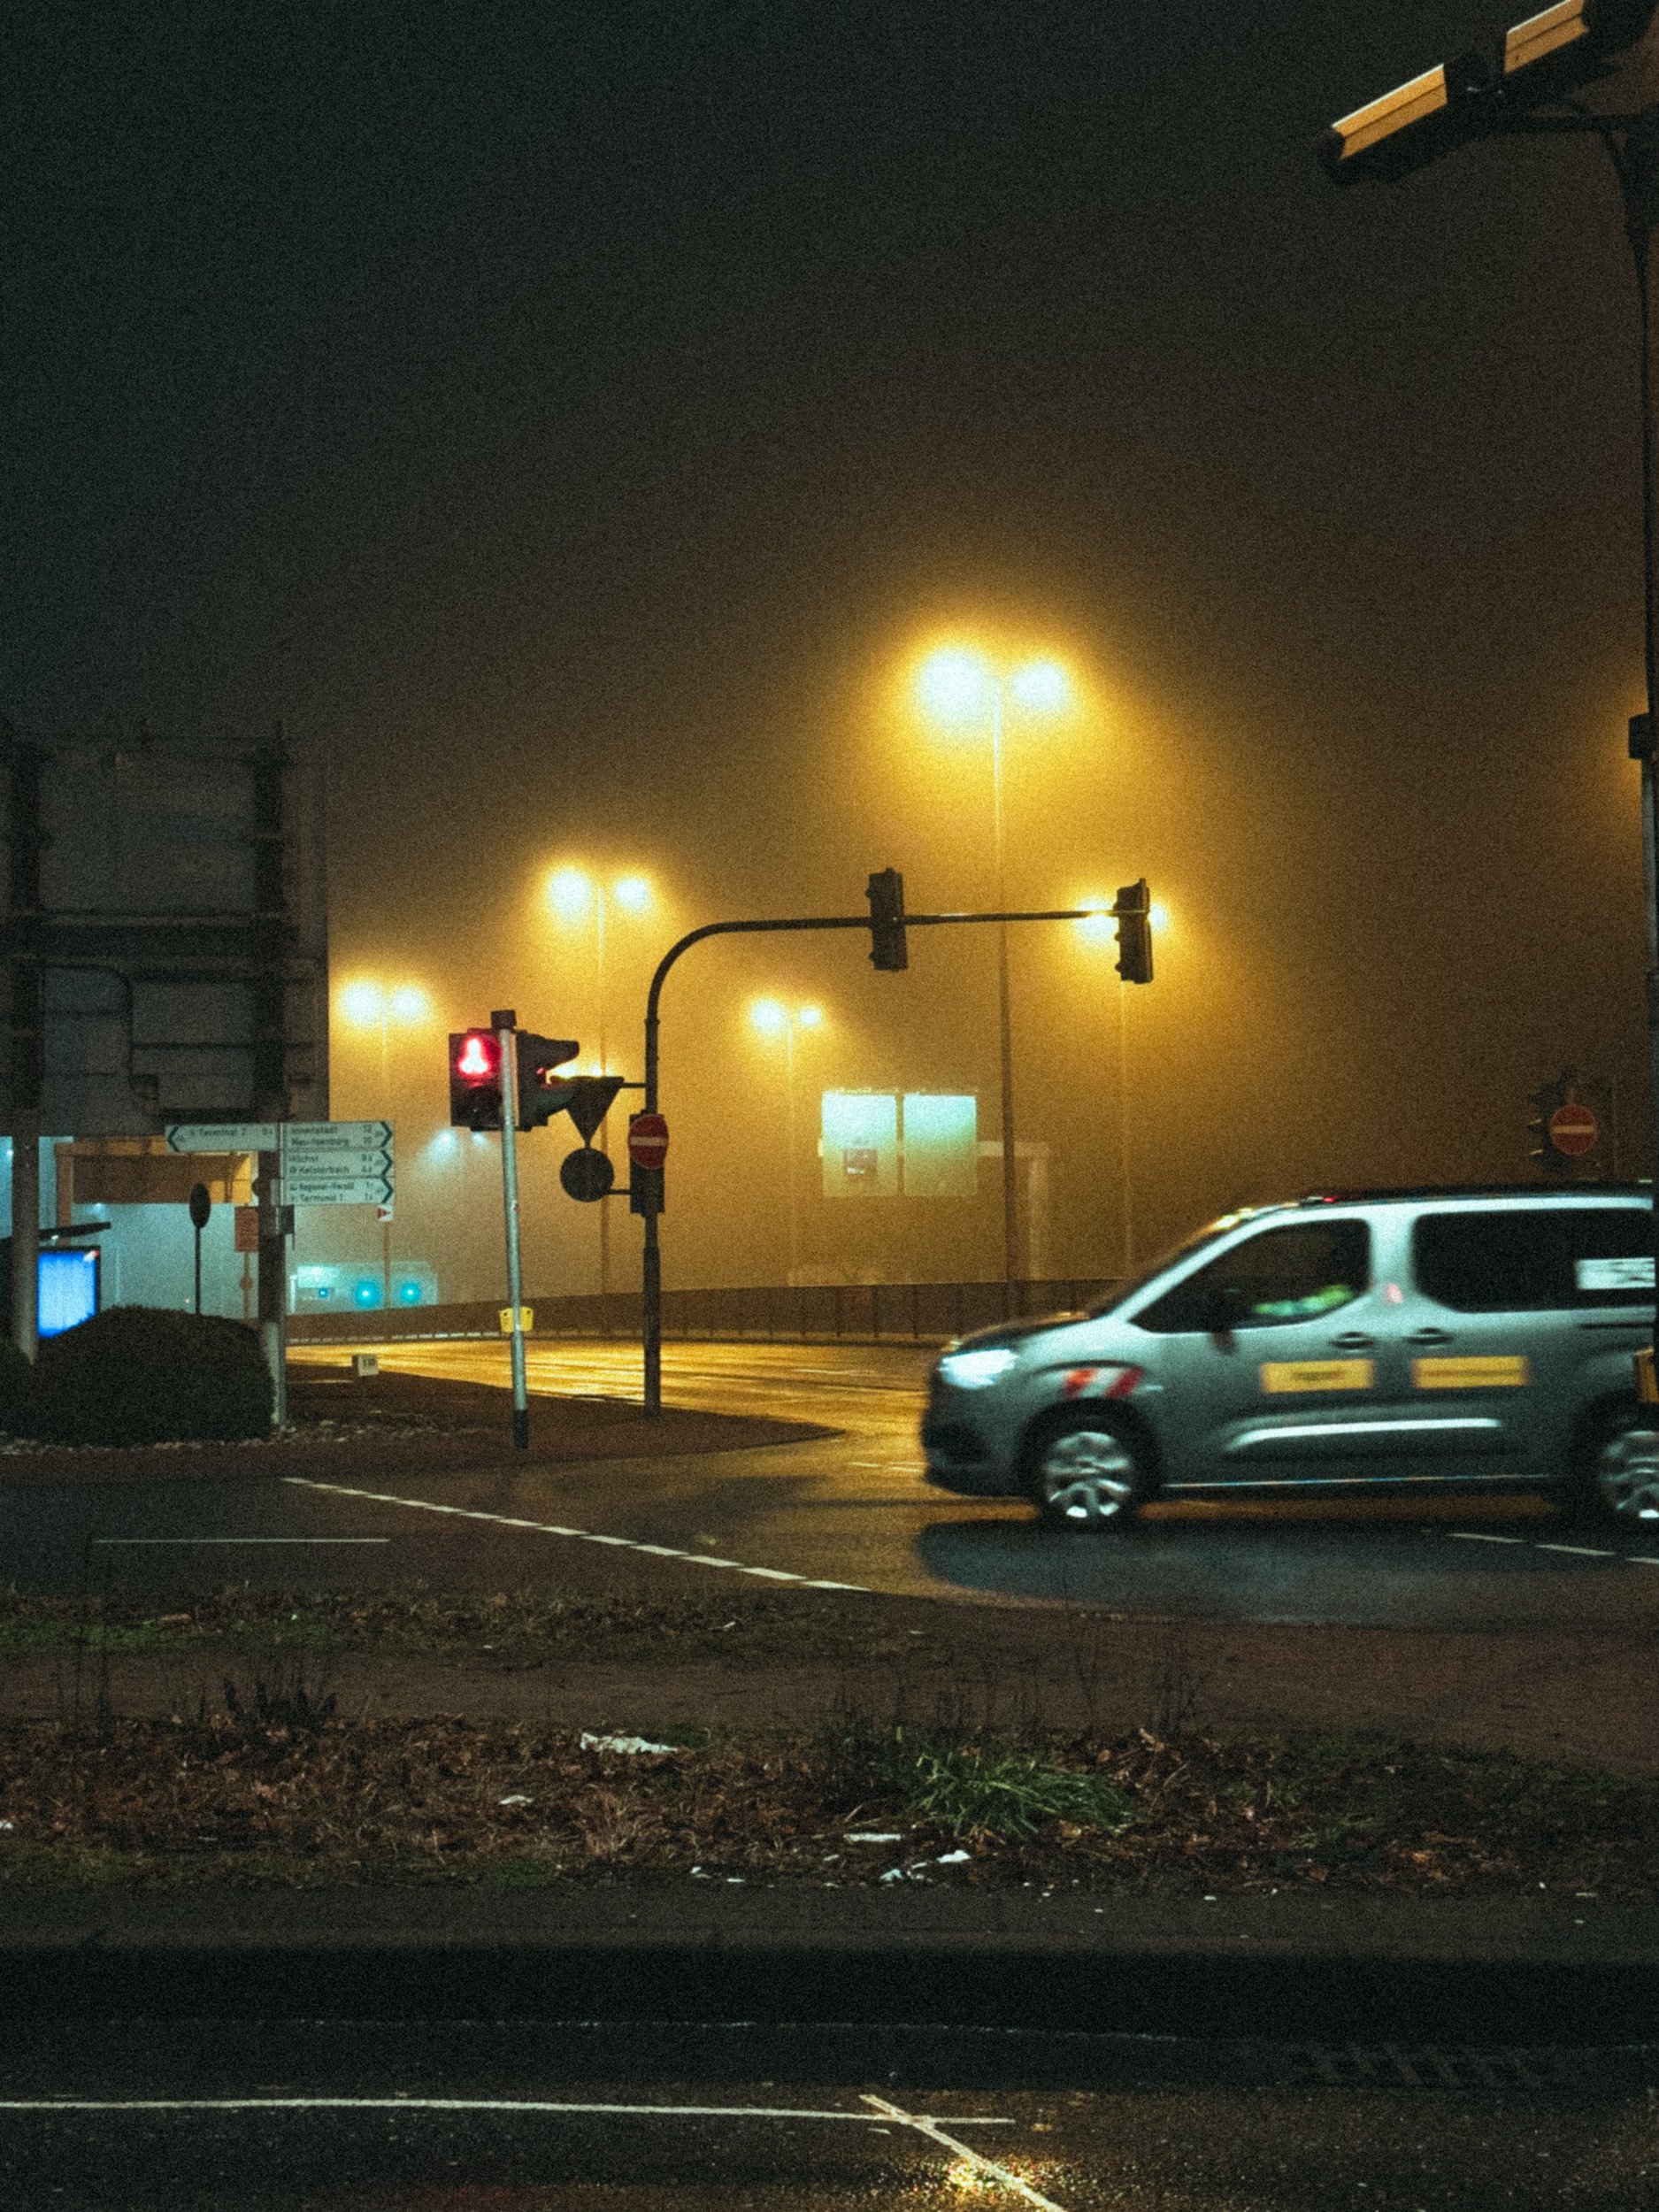
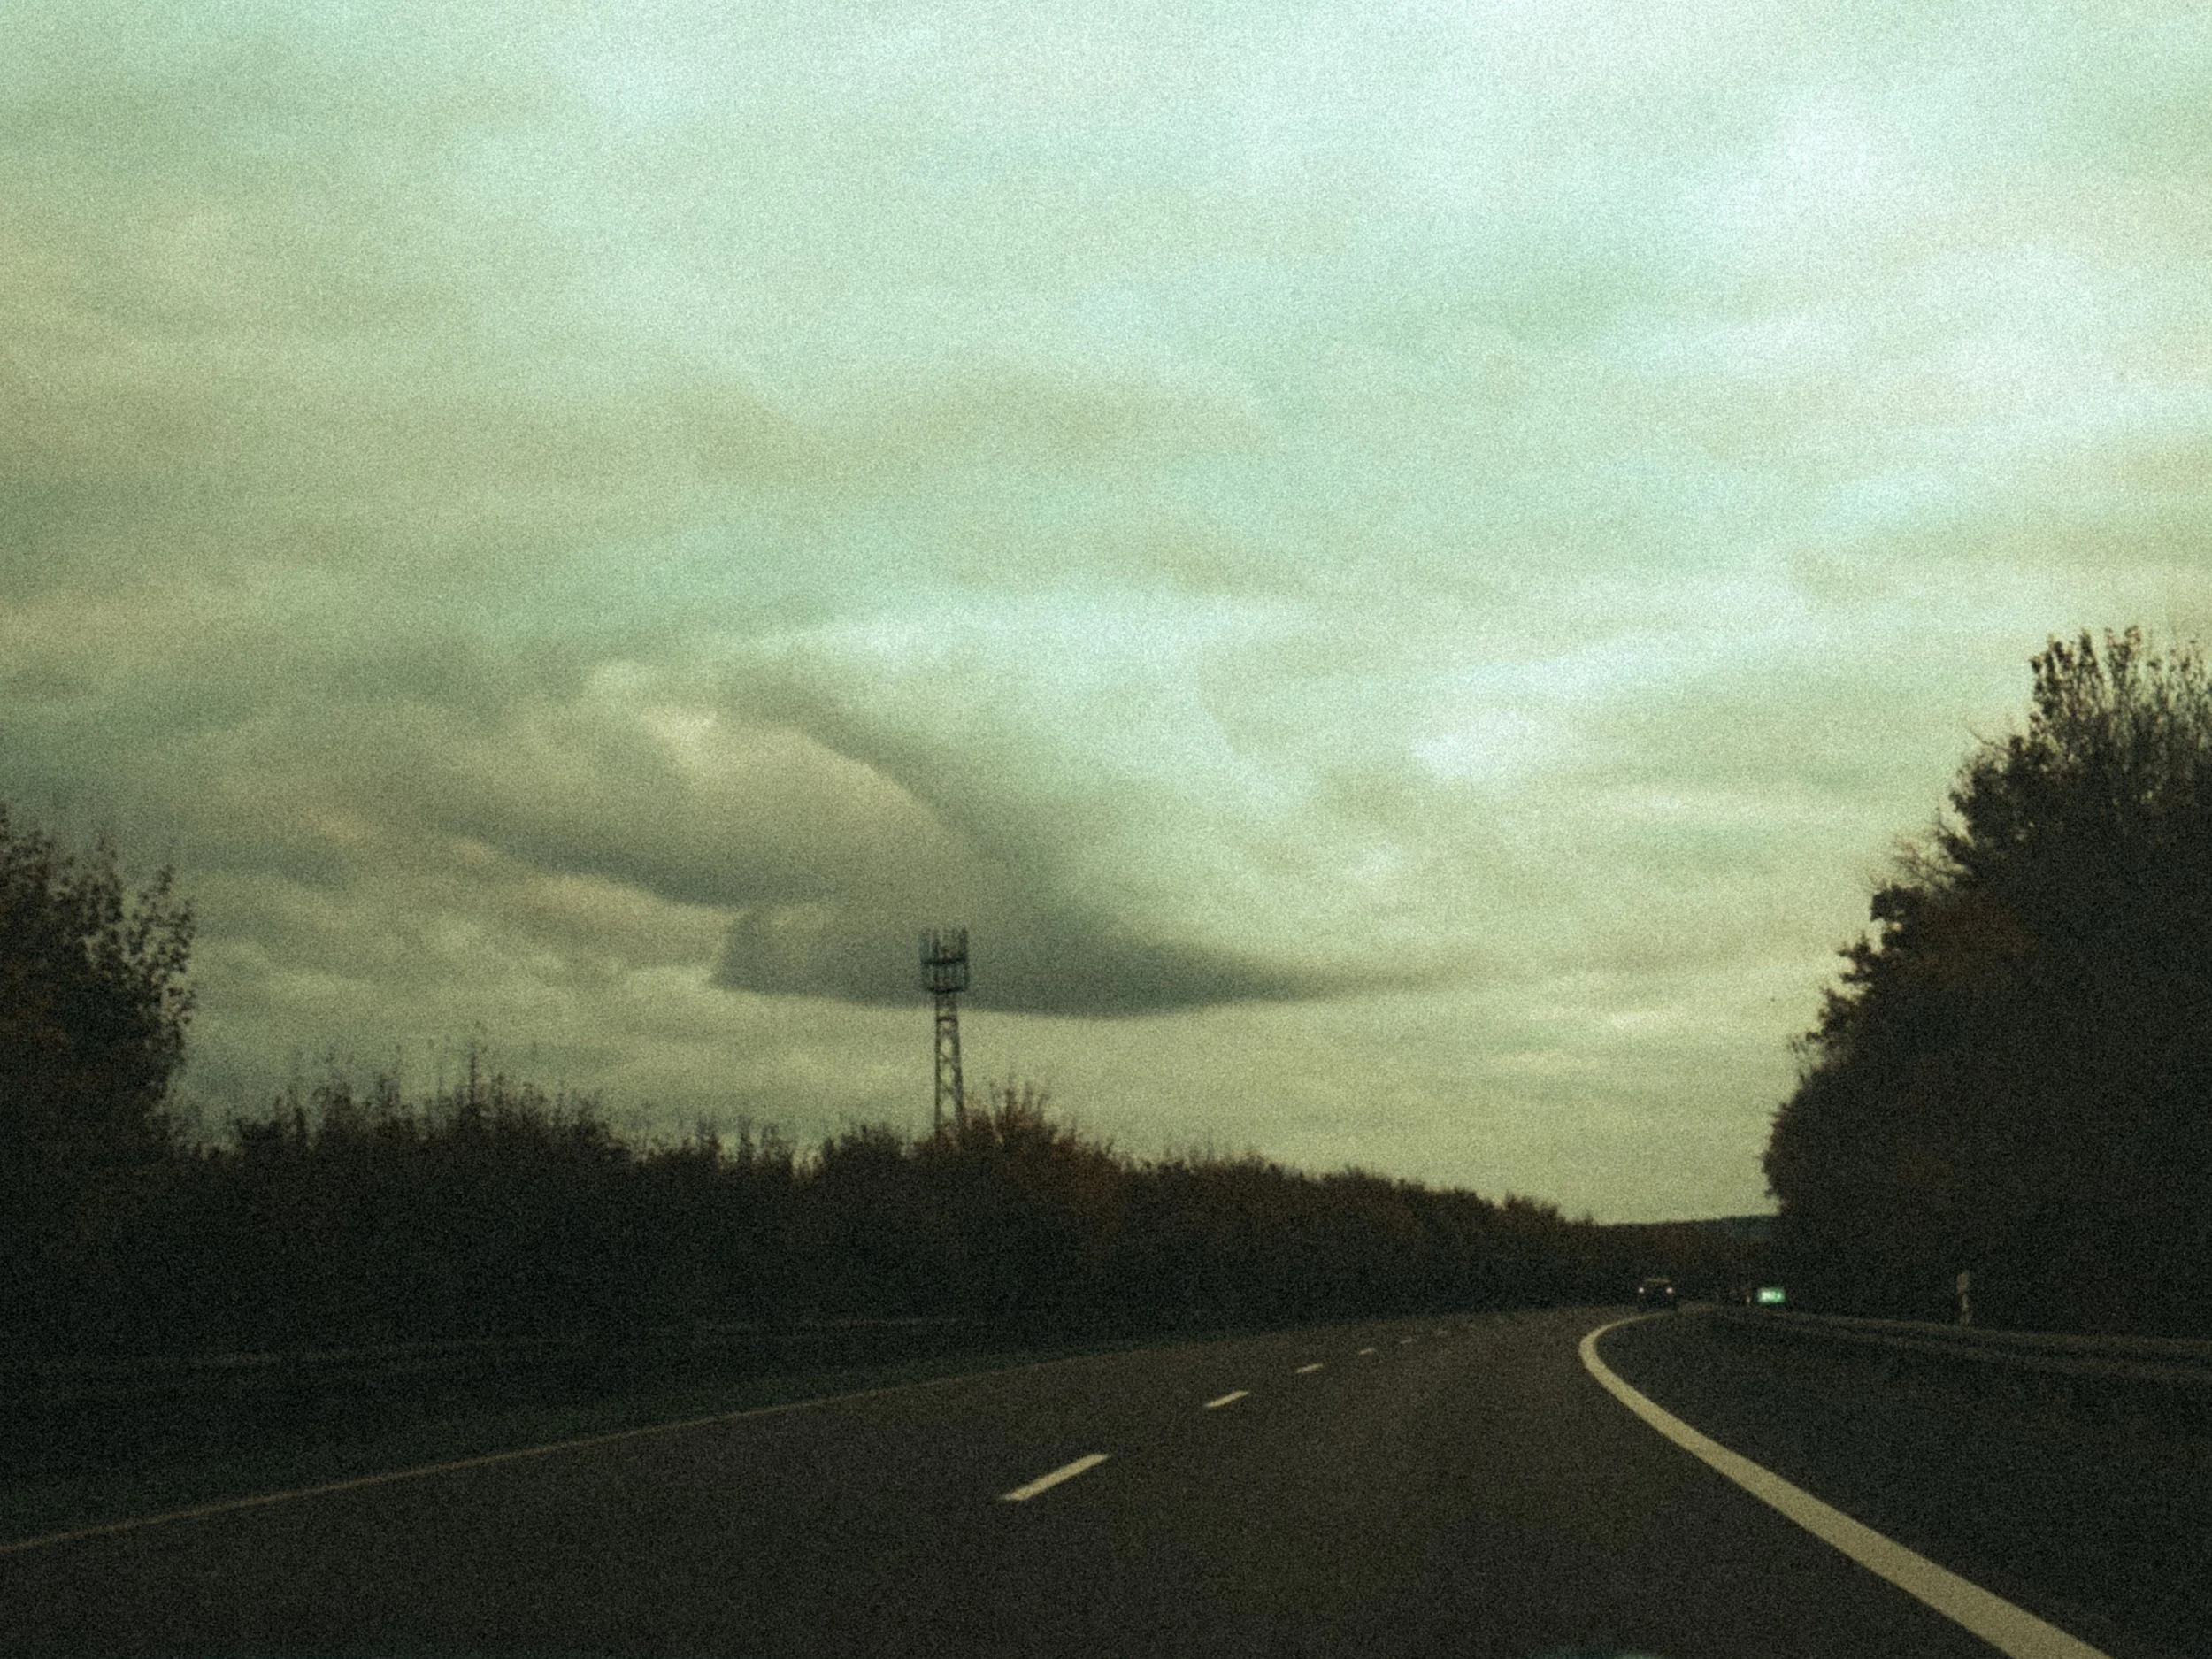
A moody cinematic preset built around a nostalgic, dystopian vision.
It blends green-teal tones with deep shadows, muted colors, soft glowing highlights to create a raw analog atmosphere.
SILENT HILL turns flat digital photos into atmospheric frames.
Ideal for foggy days, empty streets, urban scenes, and low-light photography — designed to work naturally in both daylight and night shots.
Includes:
2 Desktop Lightroom Presets (.xmp)
2 Mobile Lightroom Presets (.dng)
Installation Guide
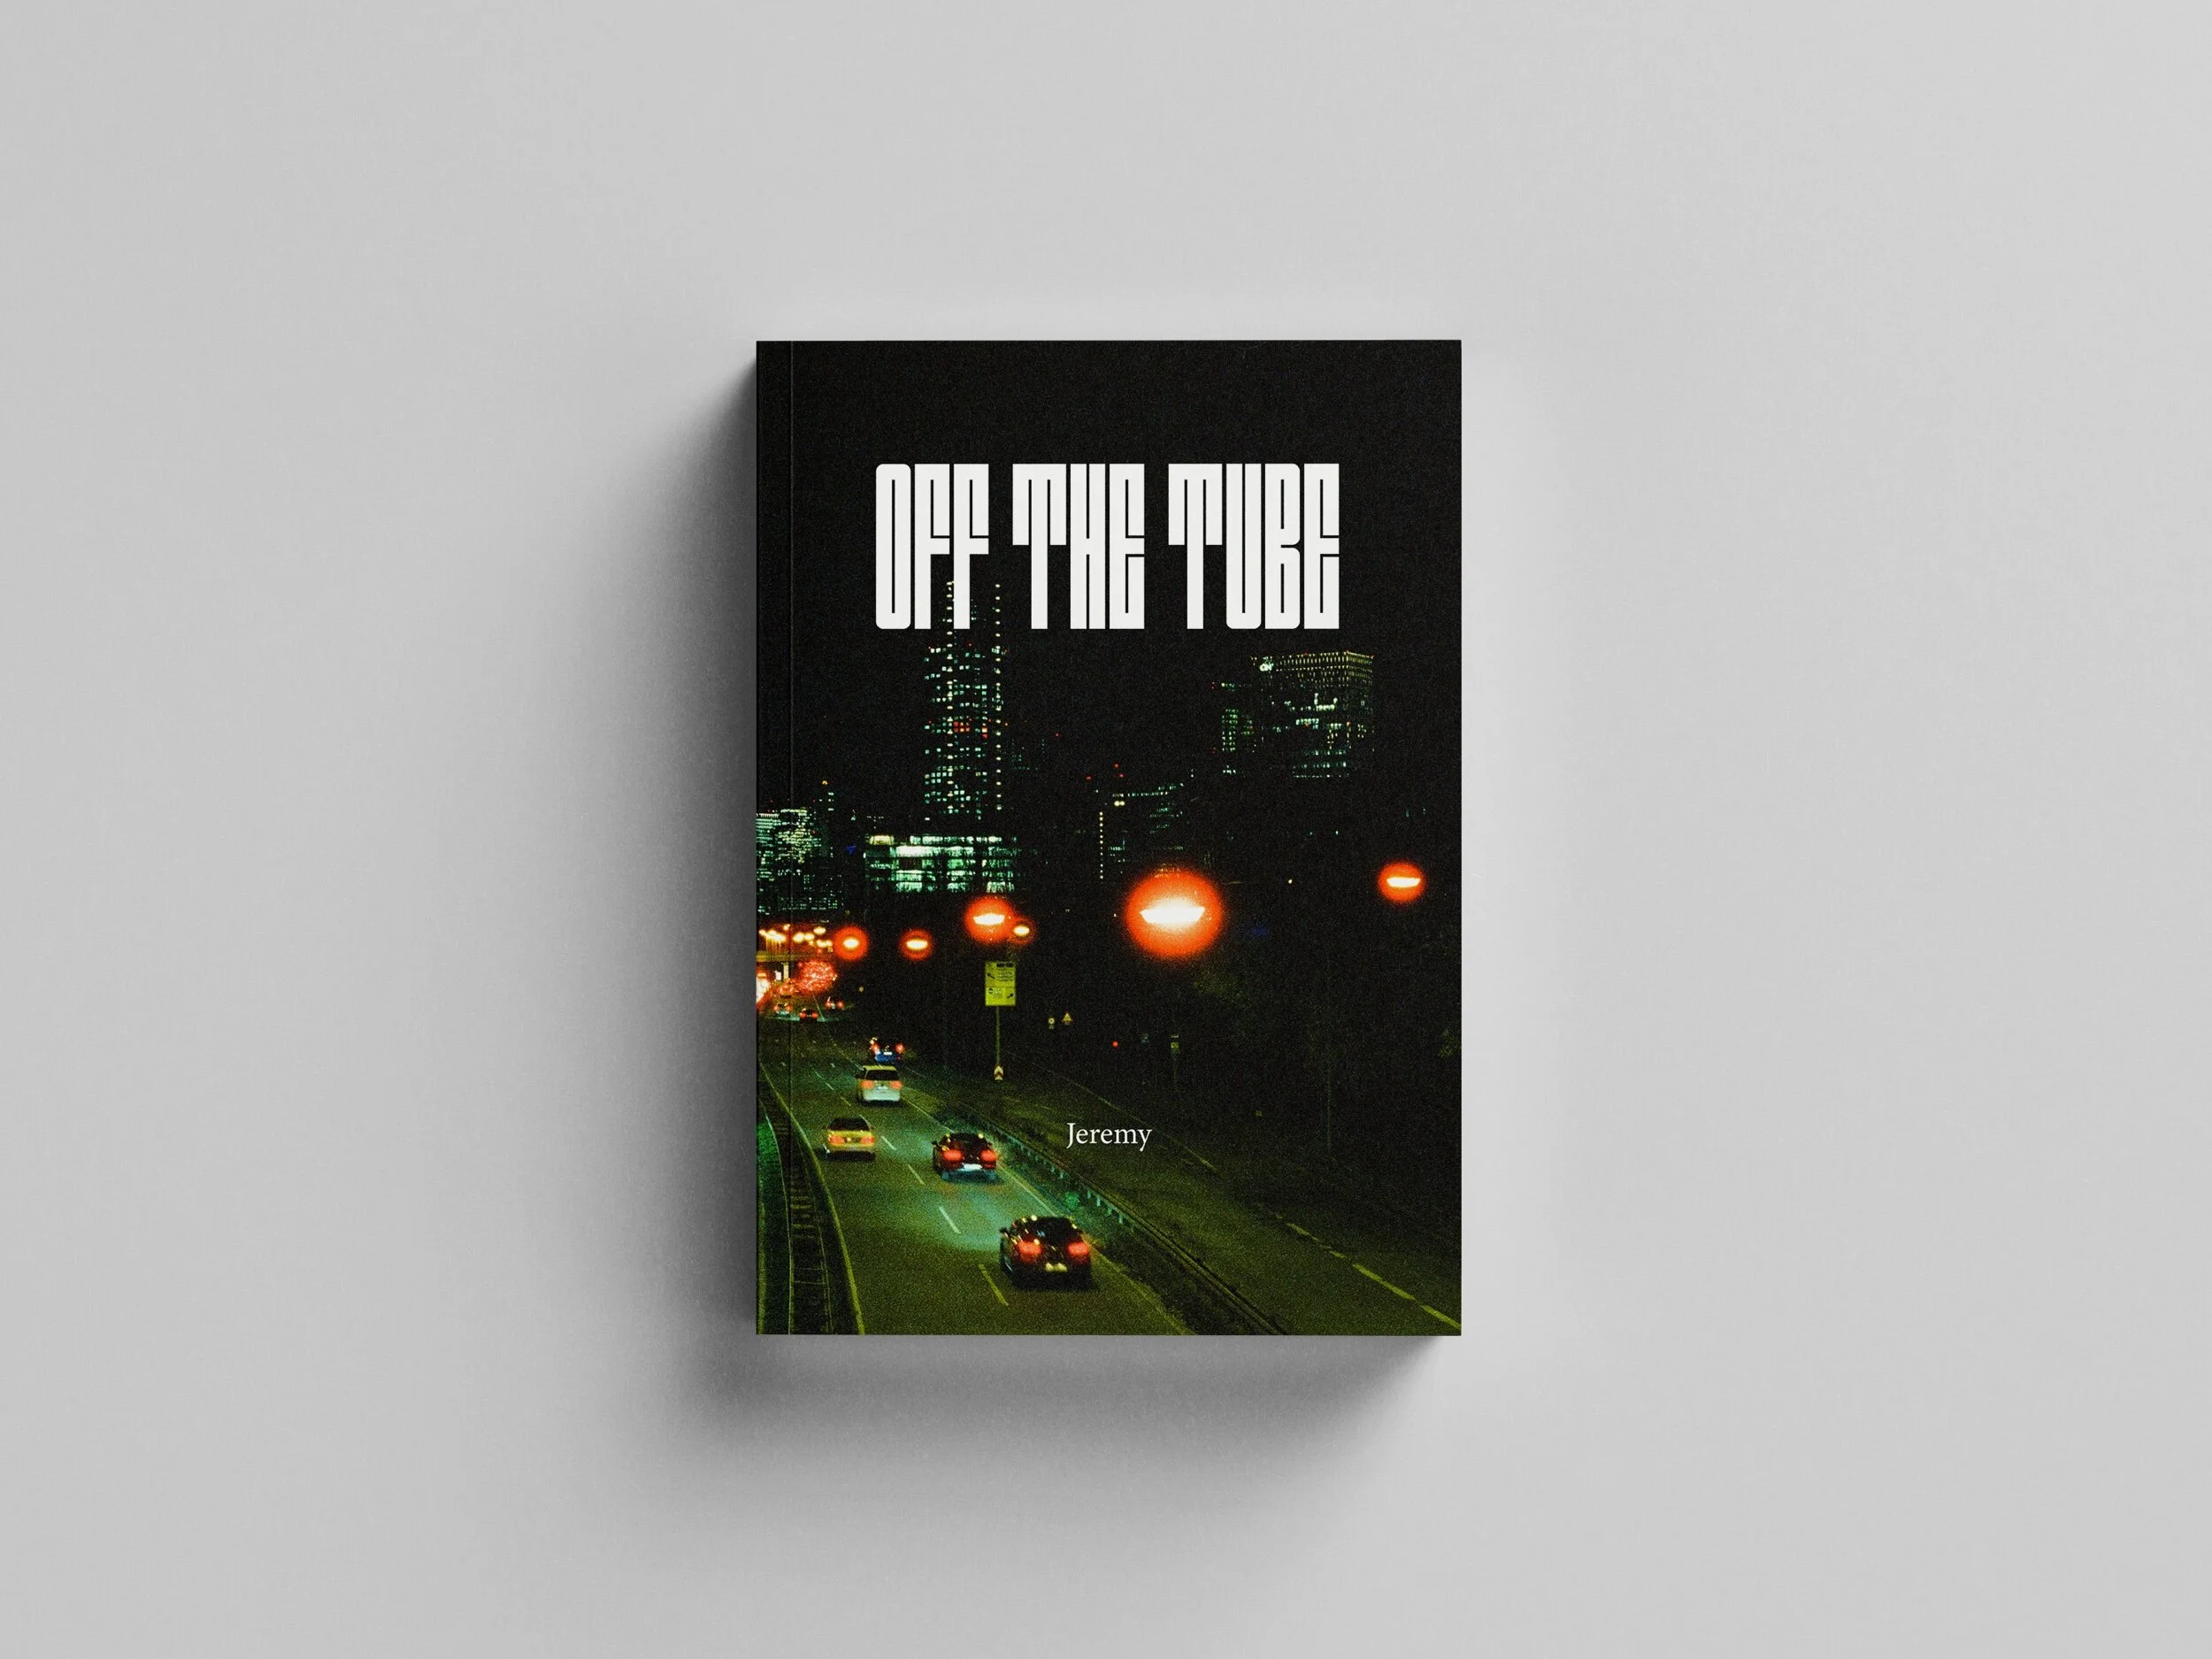
My first zine ‘Off The Tube’ is now available to pre-order.
This is a collection of my first year of film photography.
Entirely shot on CineStill 800T.
The photos you will find in the zine are part of my journey through Europe, divided in three chapters: Frankfurt, Rome and Barcelona.
80 pages
60 photos
170 x 240 mm
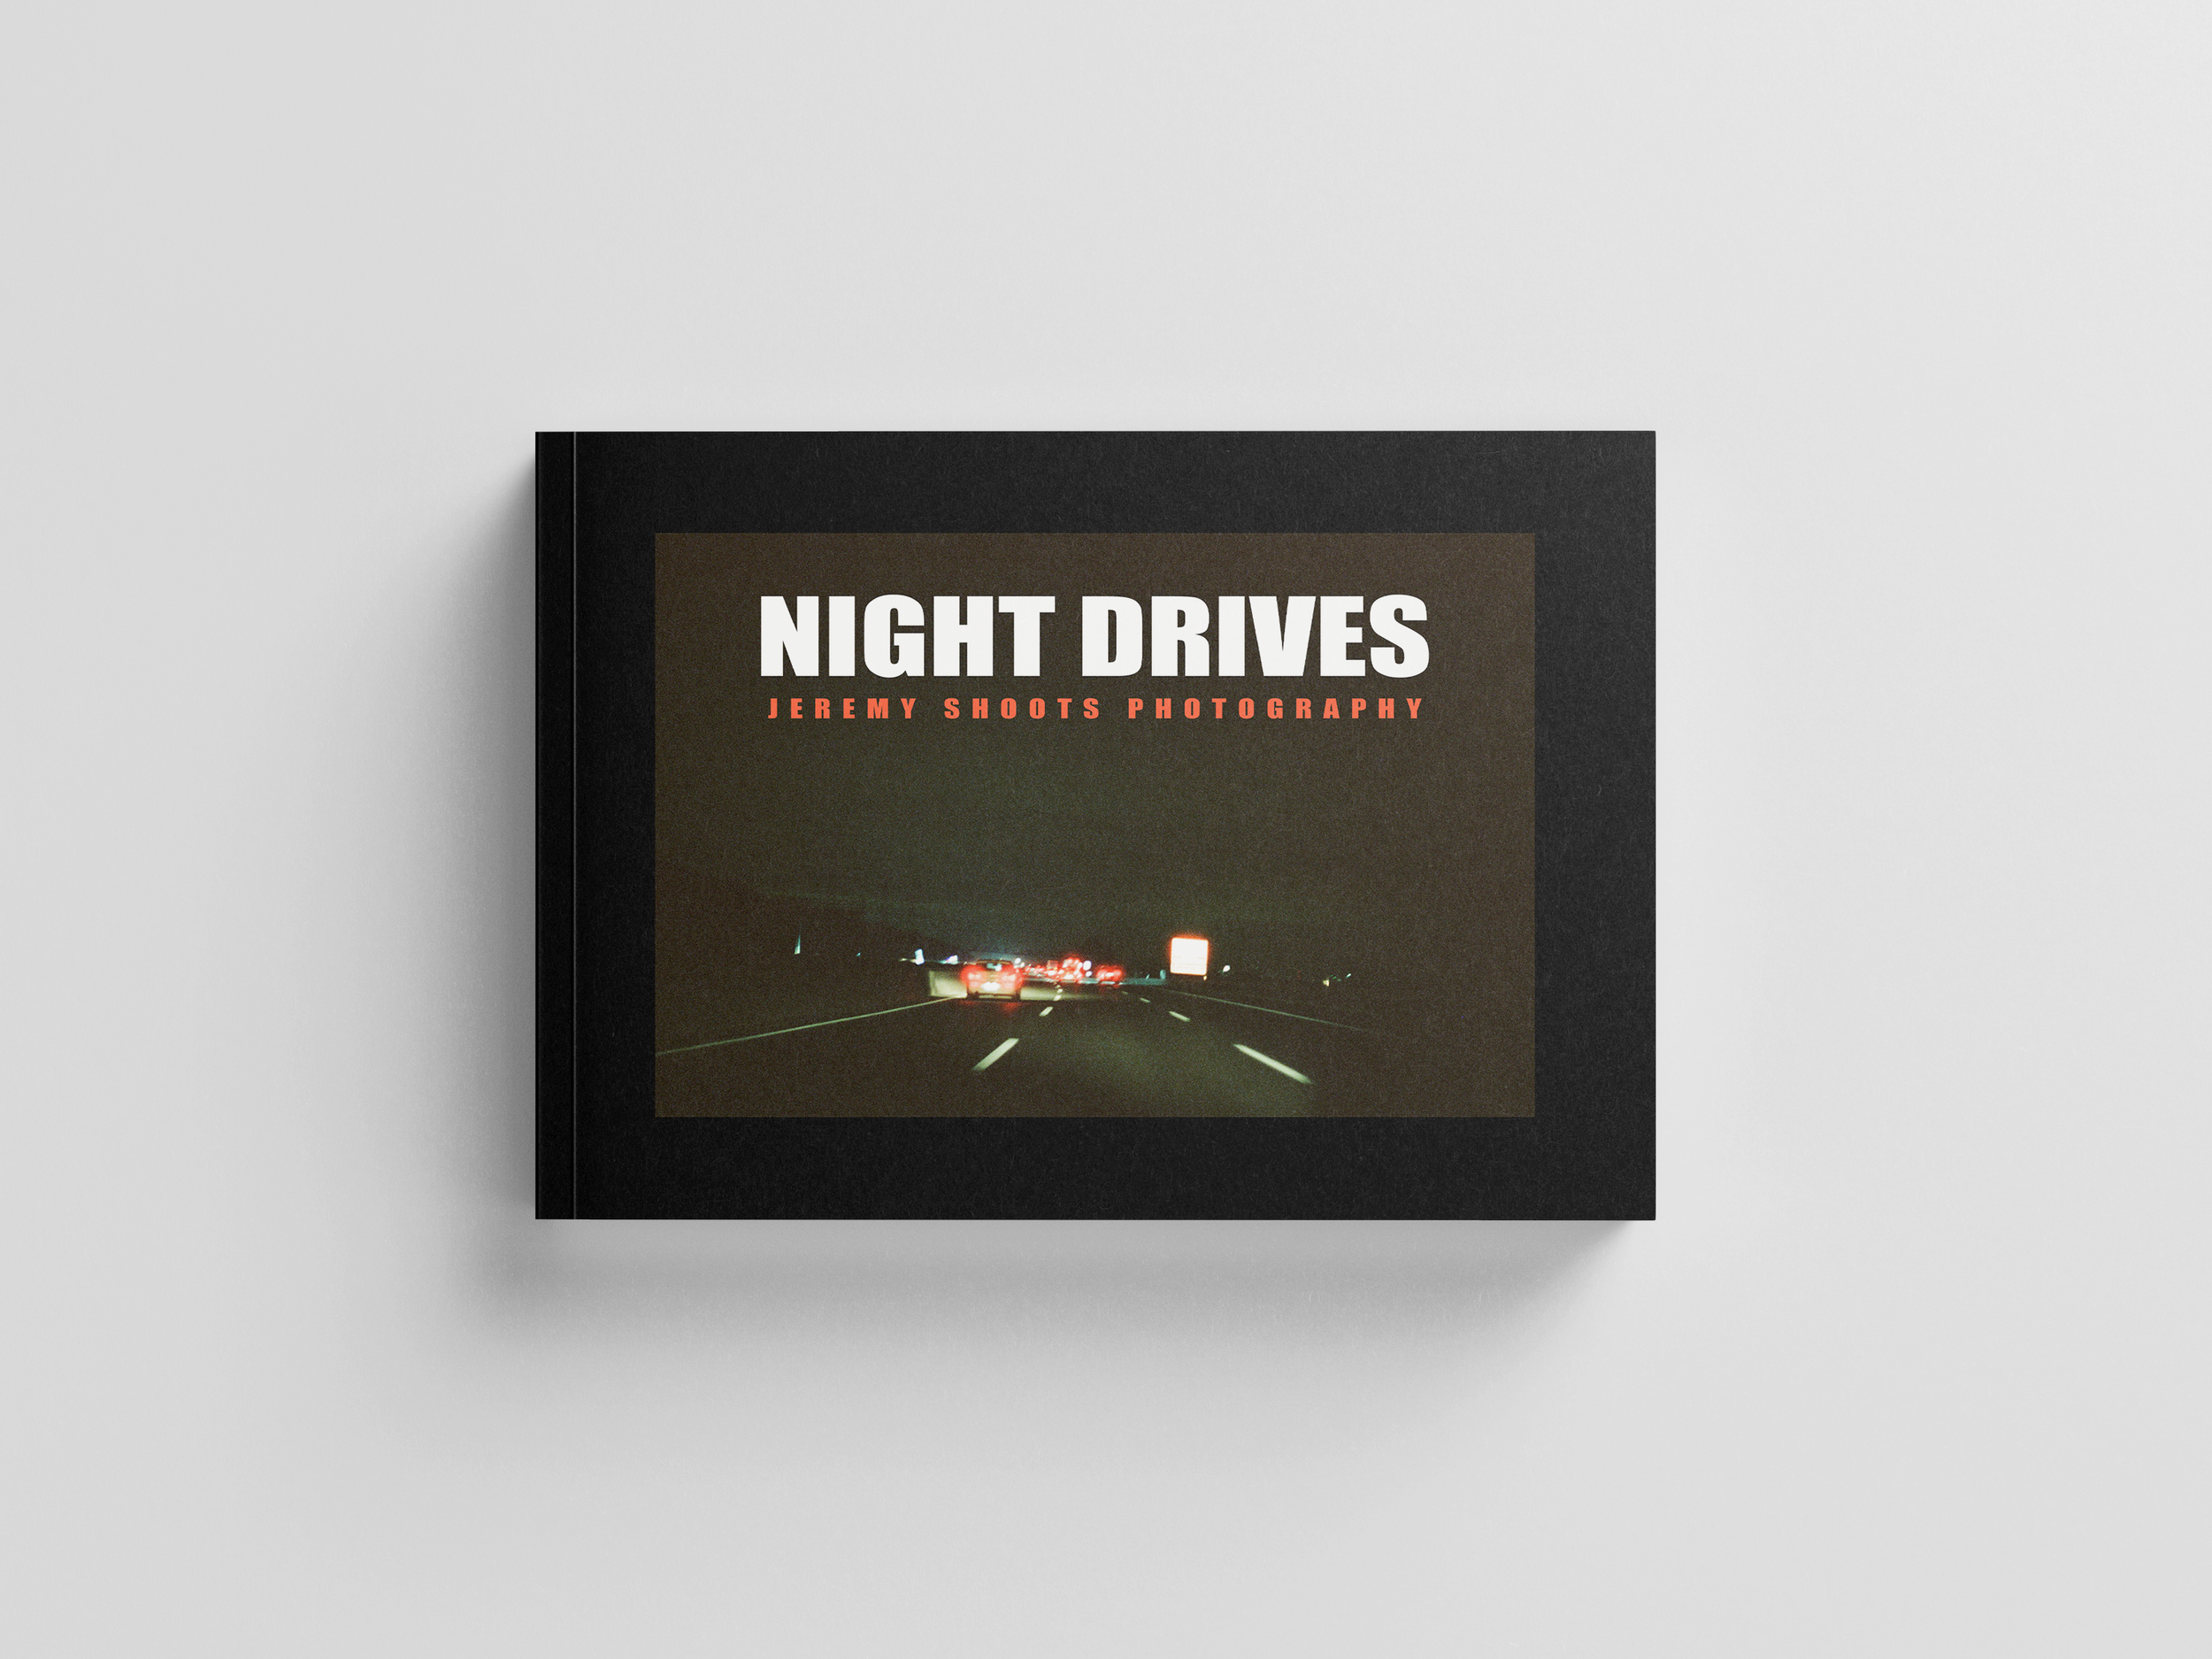
Shot entirely on Cinestill 800T film, “Night Drives” is a moody, atmospheric collection of photographs captured during late-night road trips. Through hazy headlights, empty highways, and neon glows, this book invites you into the solitude, mystery, and beauty of traveling after dark. Each image speaks to the quiet poetry of the road—the fleeting lights, blurred reflections, and passing shadows that define the midnight drive. This debut photo book is both a personal travelogue and a cinematic tribute to nights spent chasing stillness through motion.
Size: A4 (210 mm x 297 mm) - Landscape
60 pages - 170 g/m²